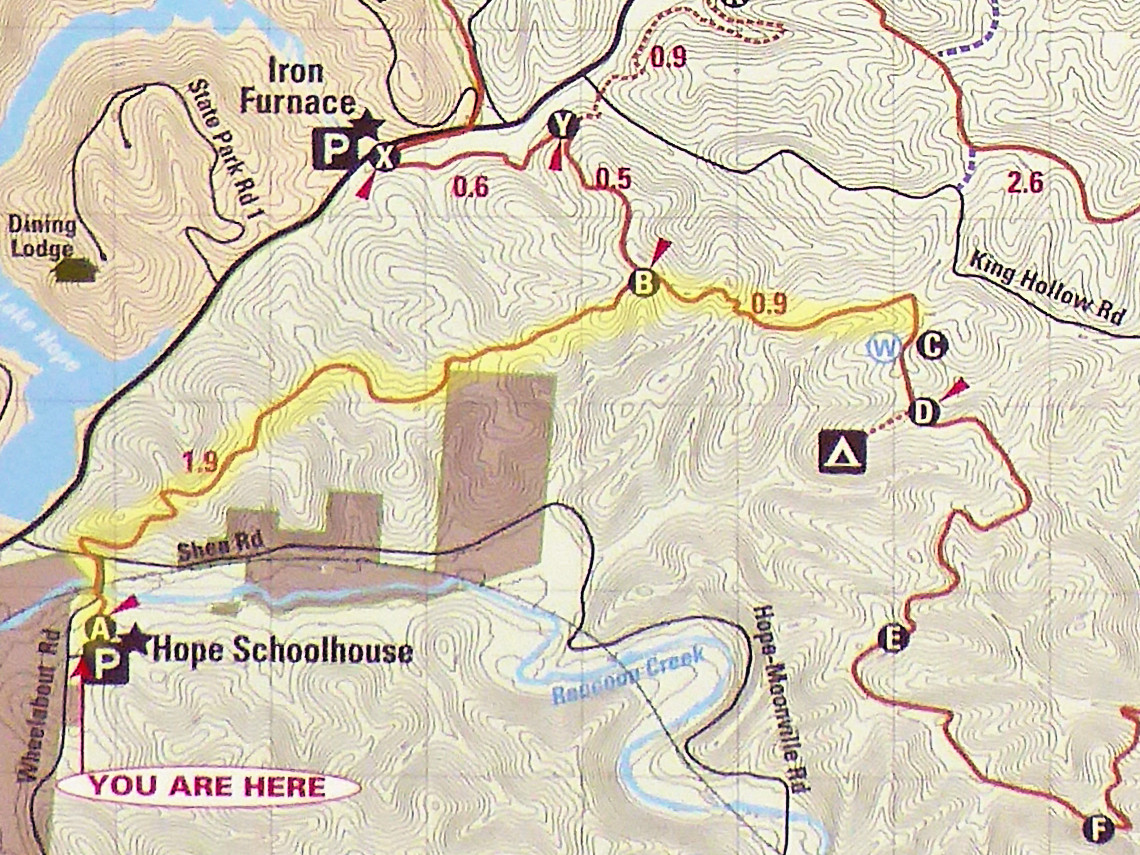
We enjoy staying at Lake Hope State Park, and we are always looking for new places to hike in the vicinity. Since the state park is adjacent to Zaleski State Forest, we sometimes take advantage of one of the backpacking trails at Zaleski. During this trip we decided to do a day hike from the trailhead that begins to the rear of Hope Schoolhouse. Our plan is to hike from point “A” on the trail map to the campsite at point “C”. The one-way distance from “A” to “C” is a little under 3 miles, so by retracing our path from “C” to “A” we enjoyed a nice day hike that was a bit less than 6 miles. We went on this particular hike on Thanksgiving weekend. Since the leaves had already dropped, we had an excellent view of the surrounding terrain.
Our hike follows along the ridgeline on the hills that can be seen above the kiosk.
Getting started
Just to get you oriented below is a GPS trace of our hike taken from a screenshot at Google Maps. And below that is an extract from the official trailmap that’s displayed on the kiosk showing the relation of our hike to the surrounding trails.
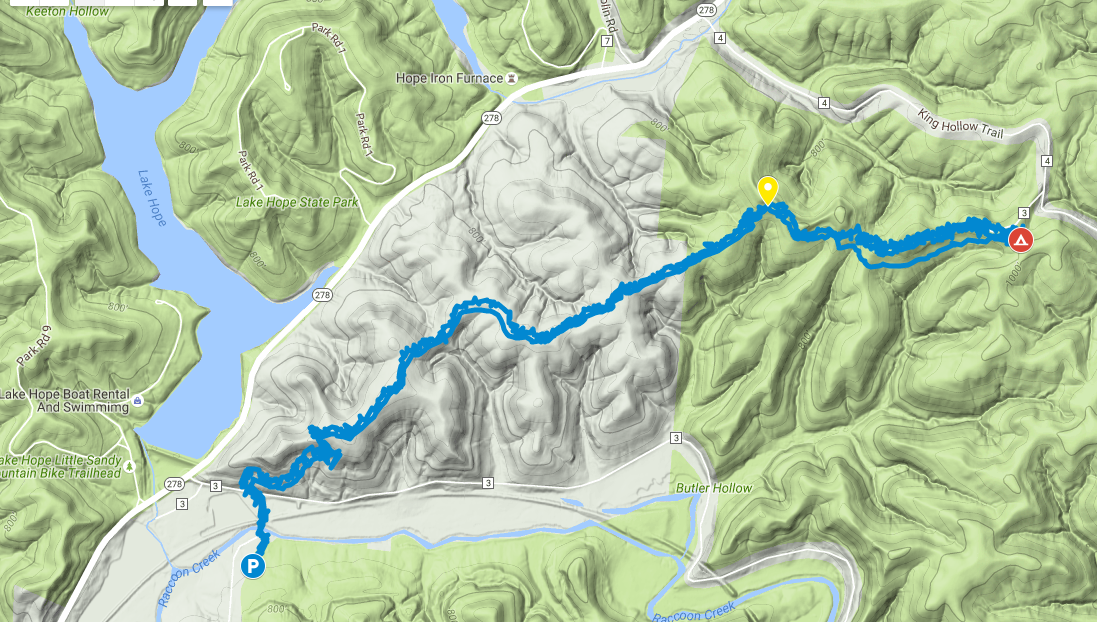
A couple points of difference between the GPS trace and the official map is the location of point “C” where the campsite is. On the official trail map, it looks like it is shortly after a turn in the trail, when in reality is exactly at the point where the trail turns. In addition the official trail map doesn’t show a trail/forest road that in real life extends from the campsite to King Hollow Rd.
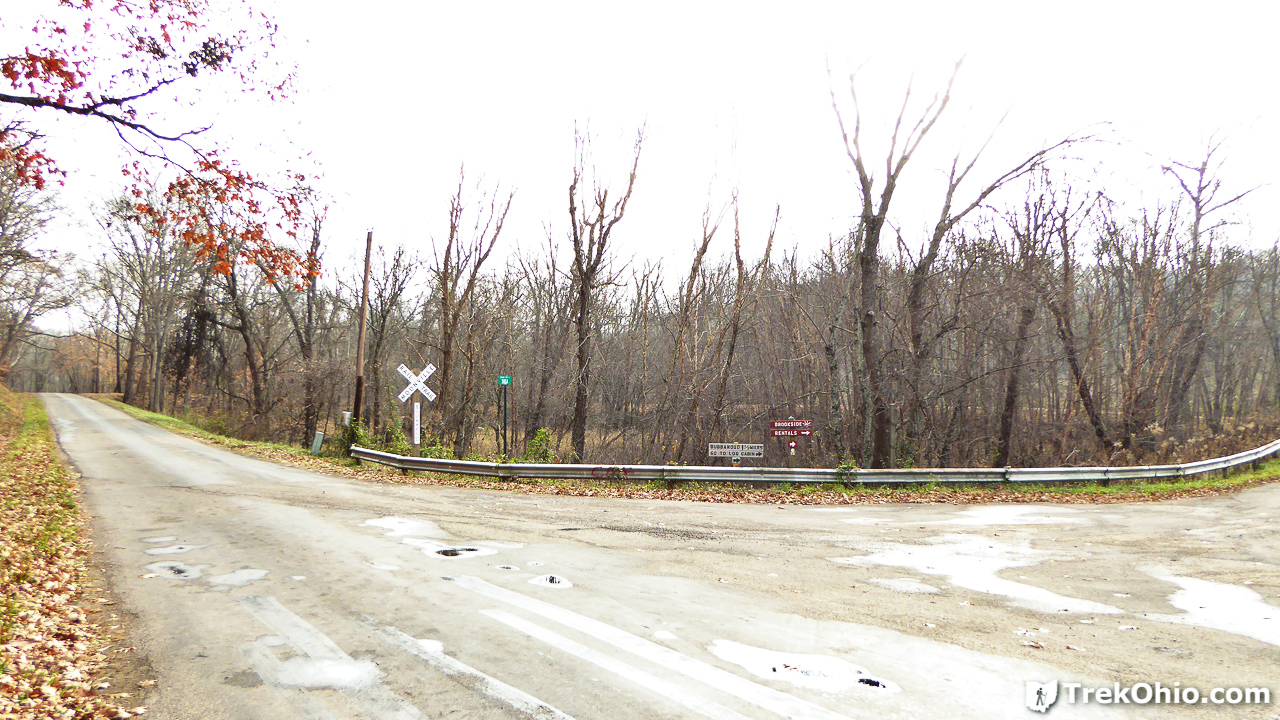
The intersection pictured below shows Shea Road going off the the left and Wheelabout Road going off to the right. To drive to Hope Schoolhouse where you park for this hike, you turn right onto Wheelabout Road, cross a bridge, and the schoolhouse will be on your left. However once you’ve parked and are heading out on your hike, you actually walk back to this intersection, cross Shea Road, and turn to you left.
I note in passing that if you are interested in going to nearby Moonville Tunnel, you would continue to go down Shea Road.
From “A” to “B”
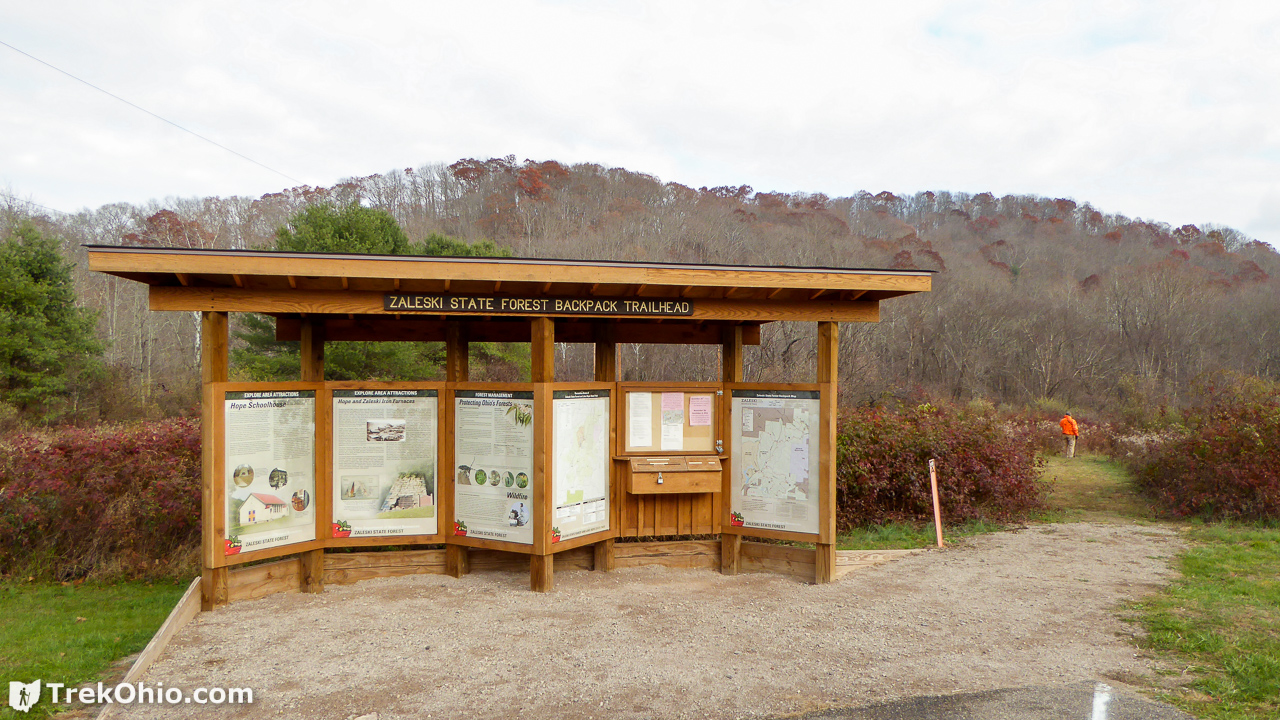
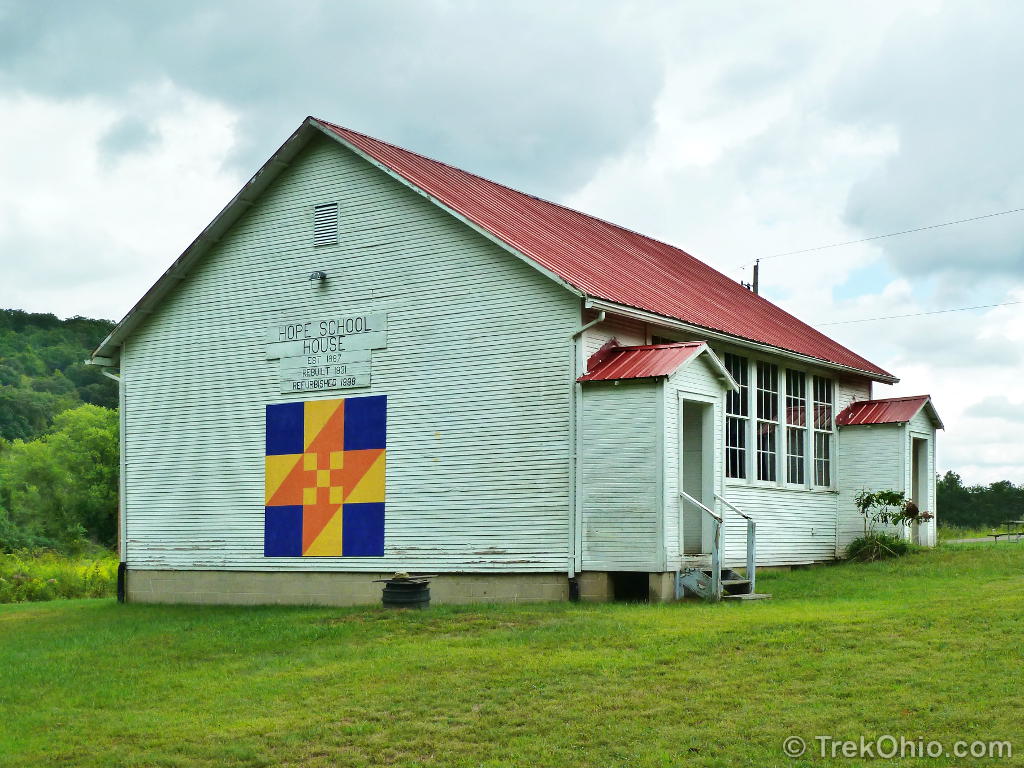
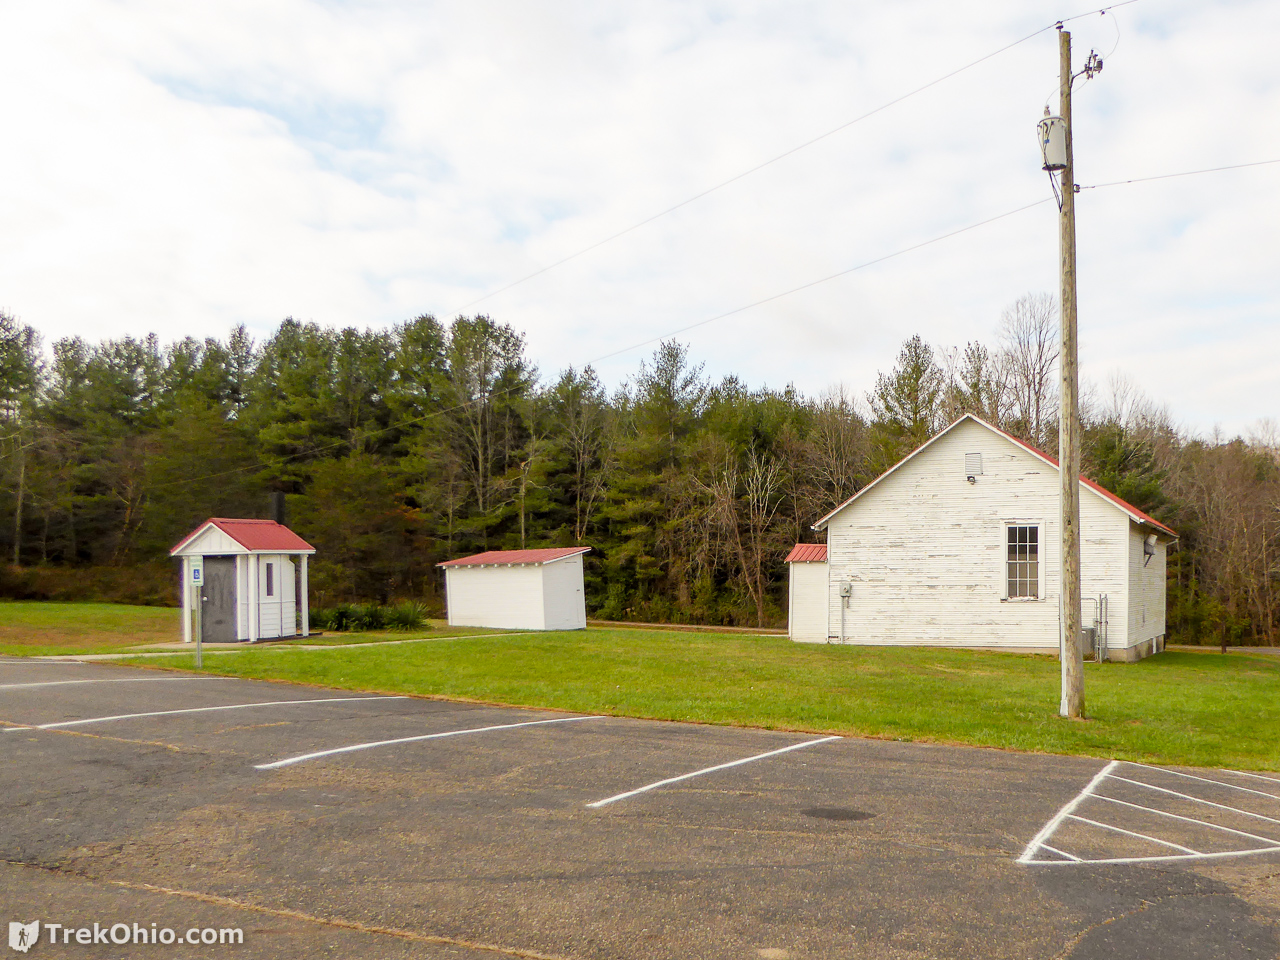
Below is what Hope Schoolhouse looks like from the front. You will be parking to the rear of the building where you’ll see the kiosk pictured at the top of this article. If you are backpacking you are supposed to self-register here. Since we were on a day hike, we just checked out the information posted on the kiosk, especially the map, and we headed out on the trail to the right of the kiosk.
After going a short distance on this mown path, you’ll see that it soon turns to the left back toward Wheelabout Road. You have to walk along Wheelabout Road back toward Shea Road.
When you come to the intersection, if you look across Shea Road there is a trail sign. You have to cross Shea Road, turn left and then walk along Shea Road for a short distance.
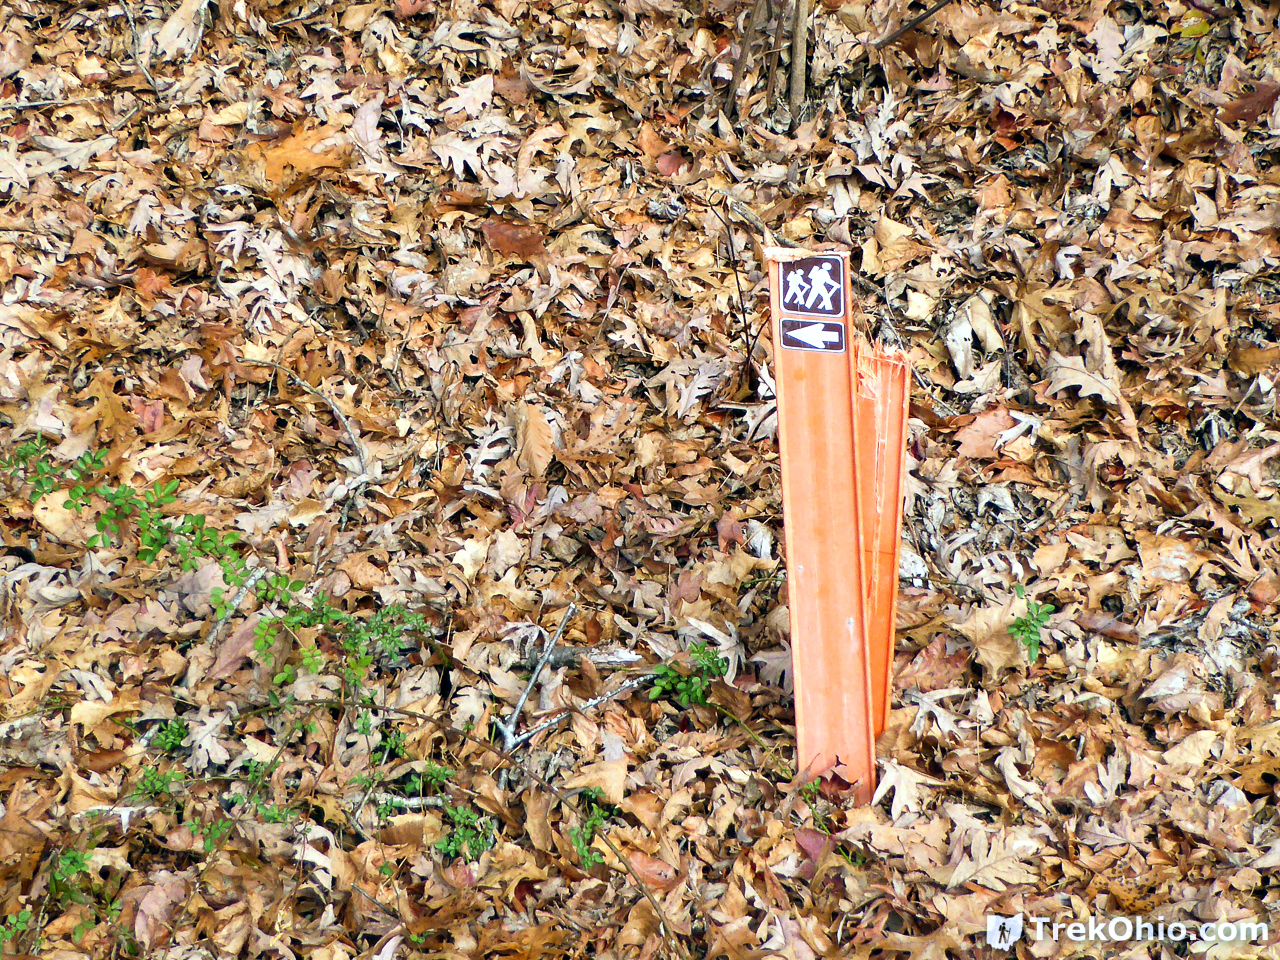

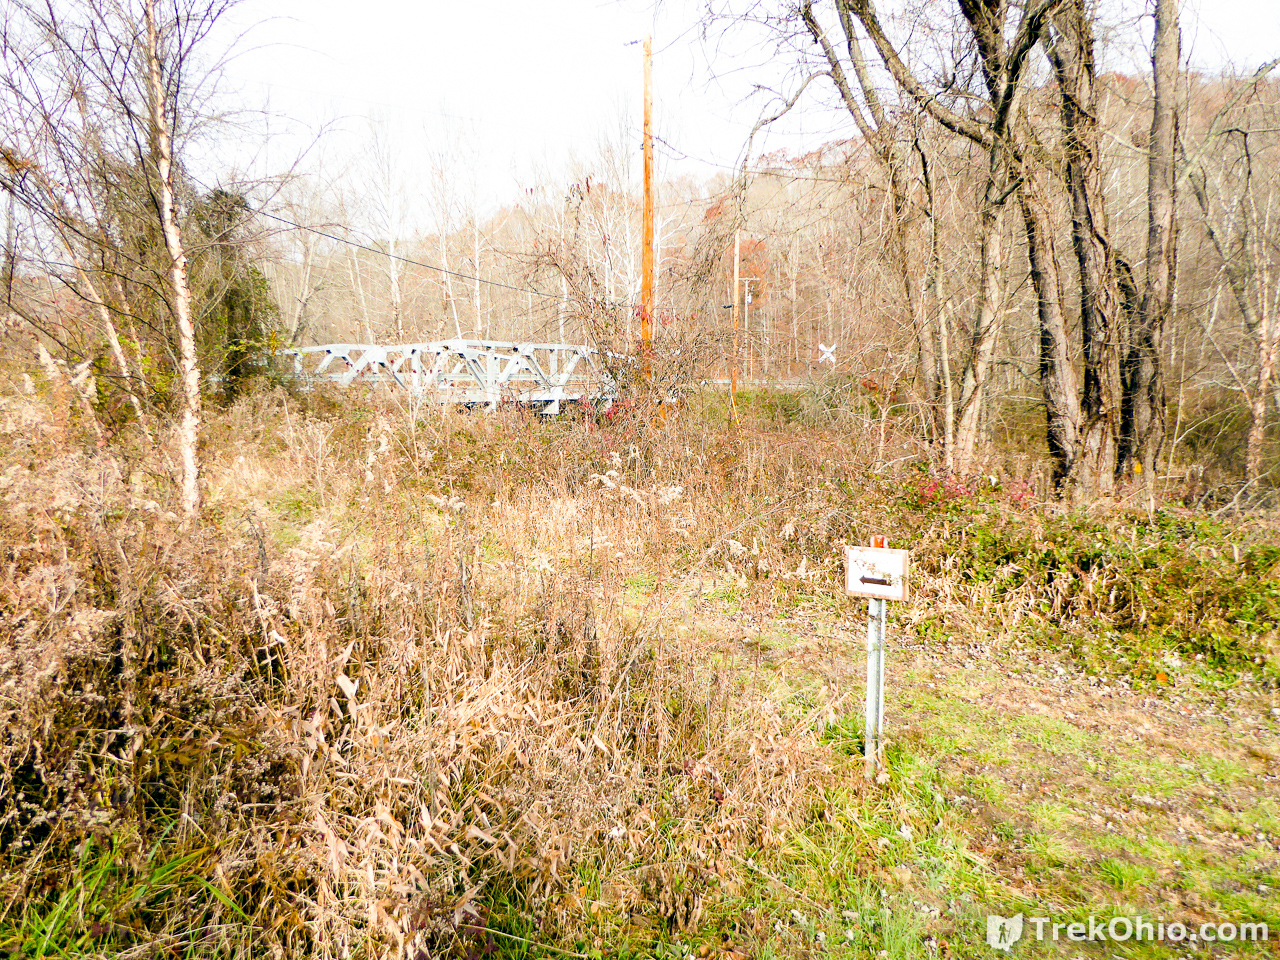
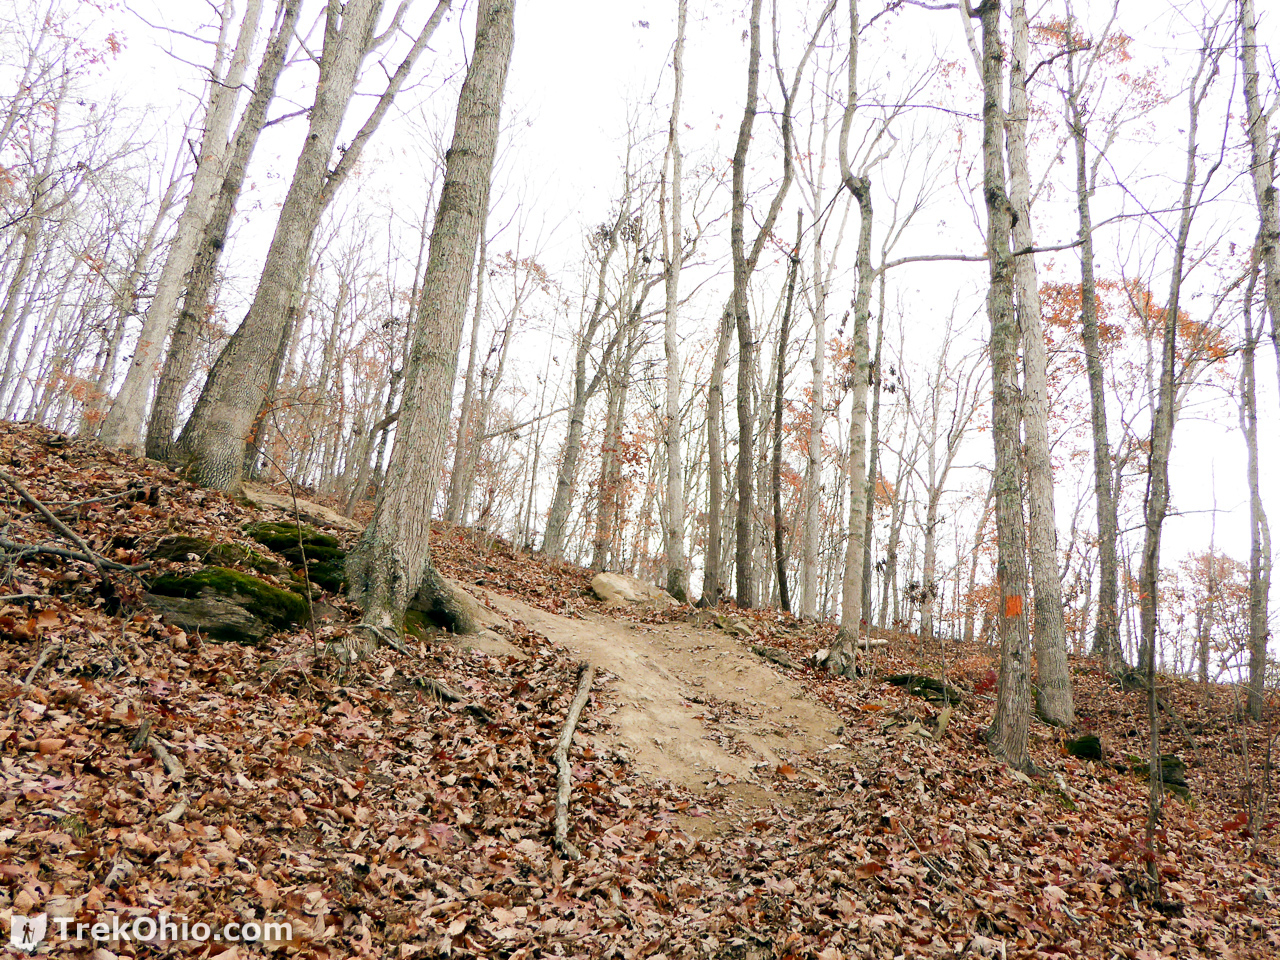
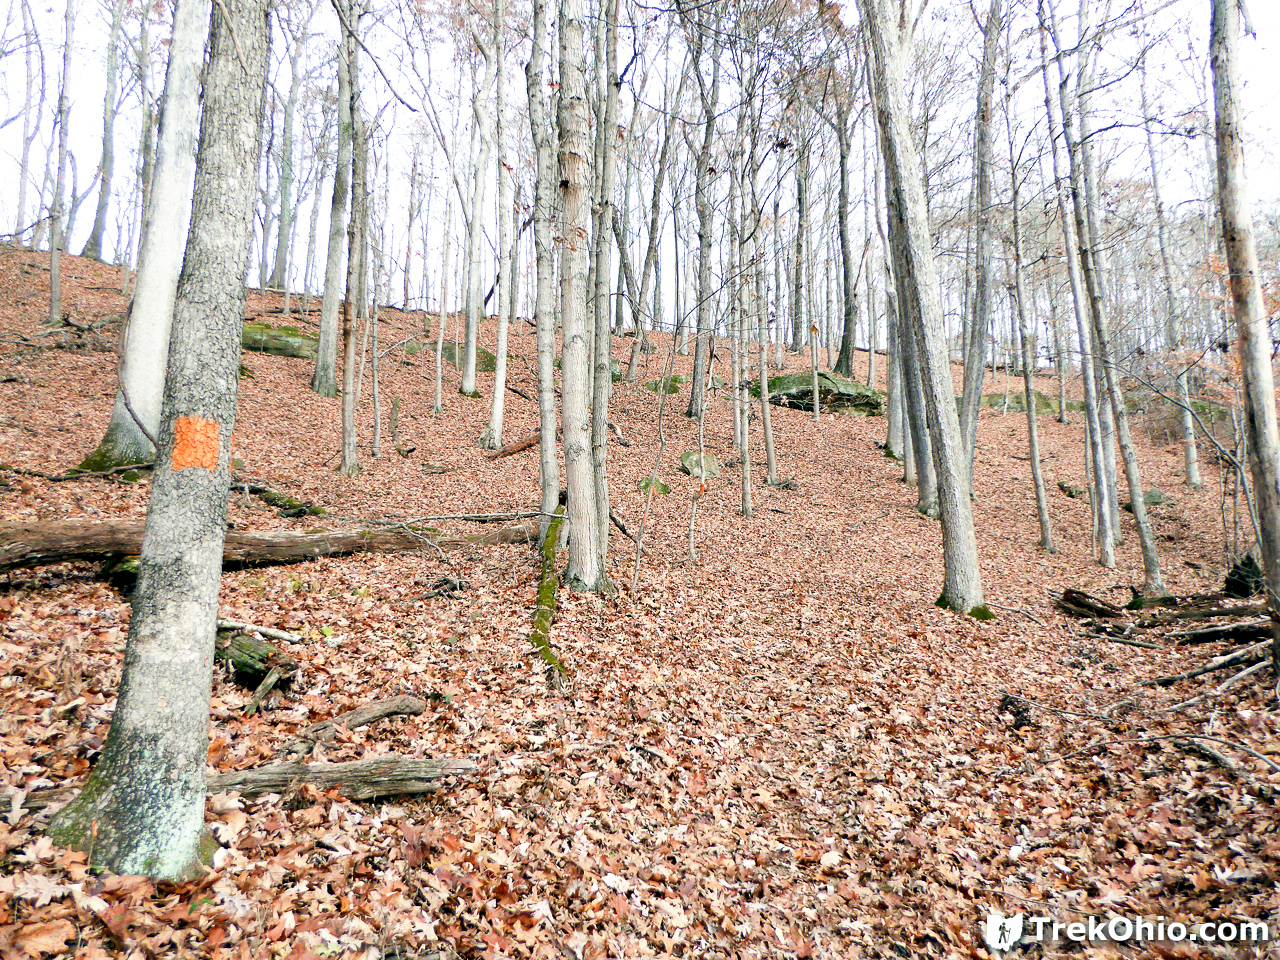
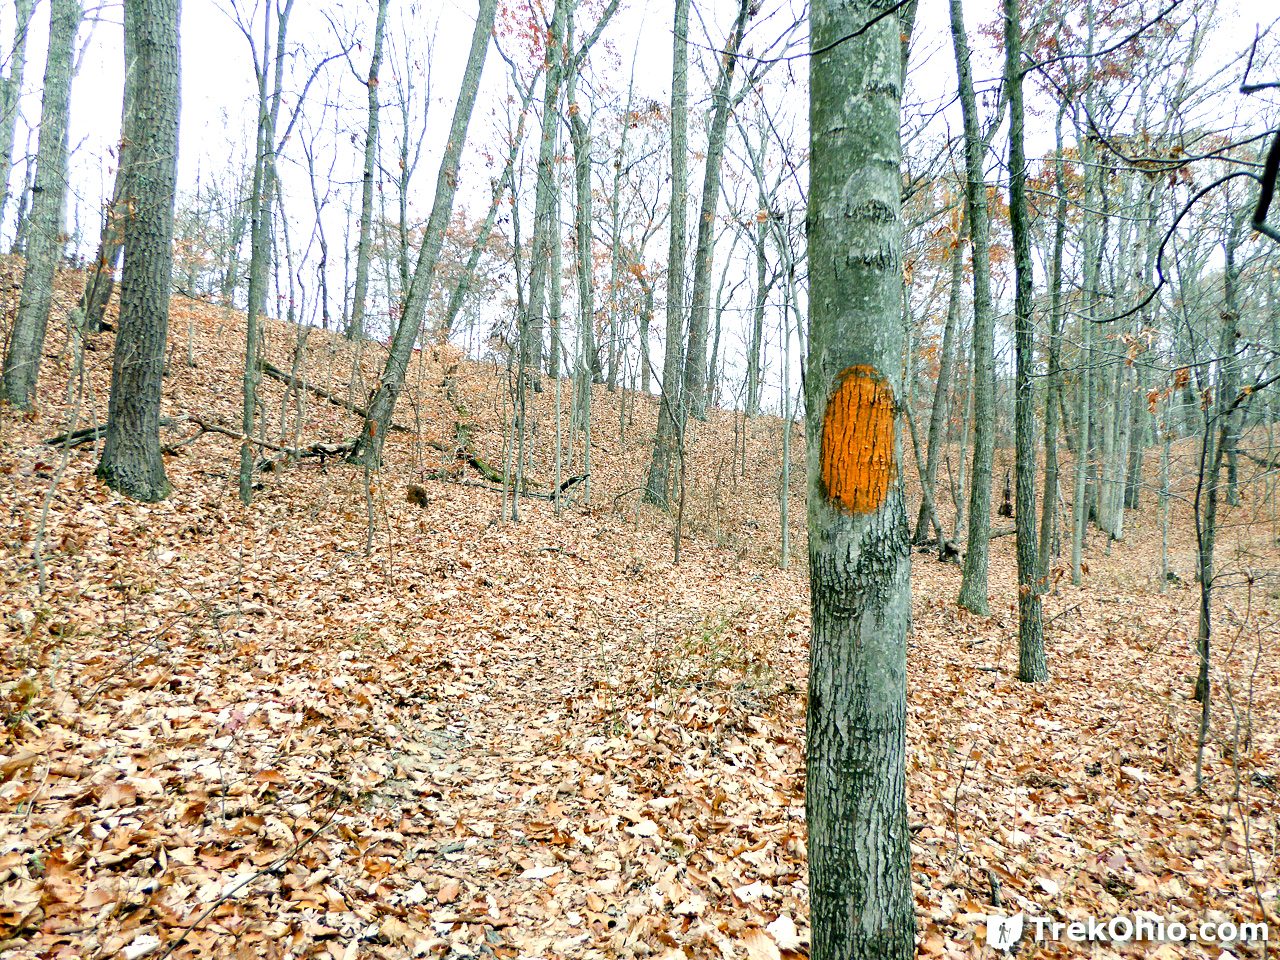
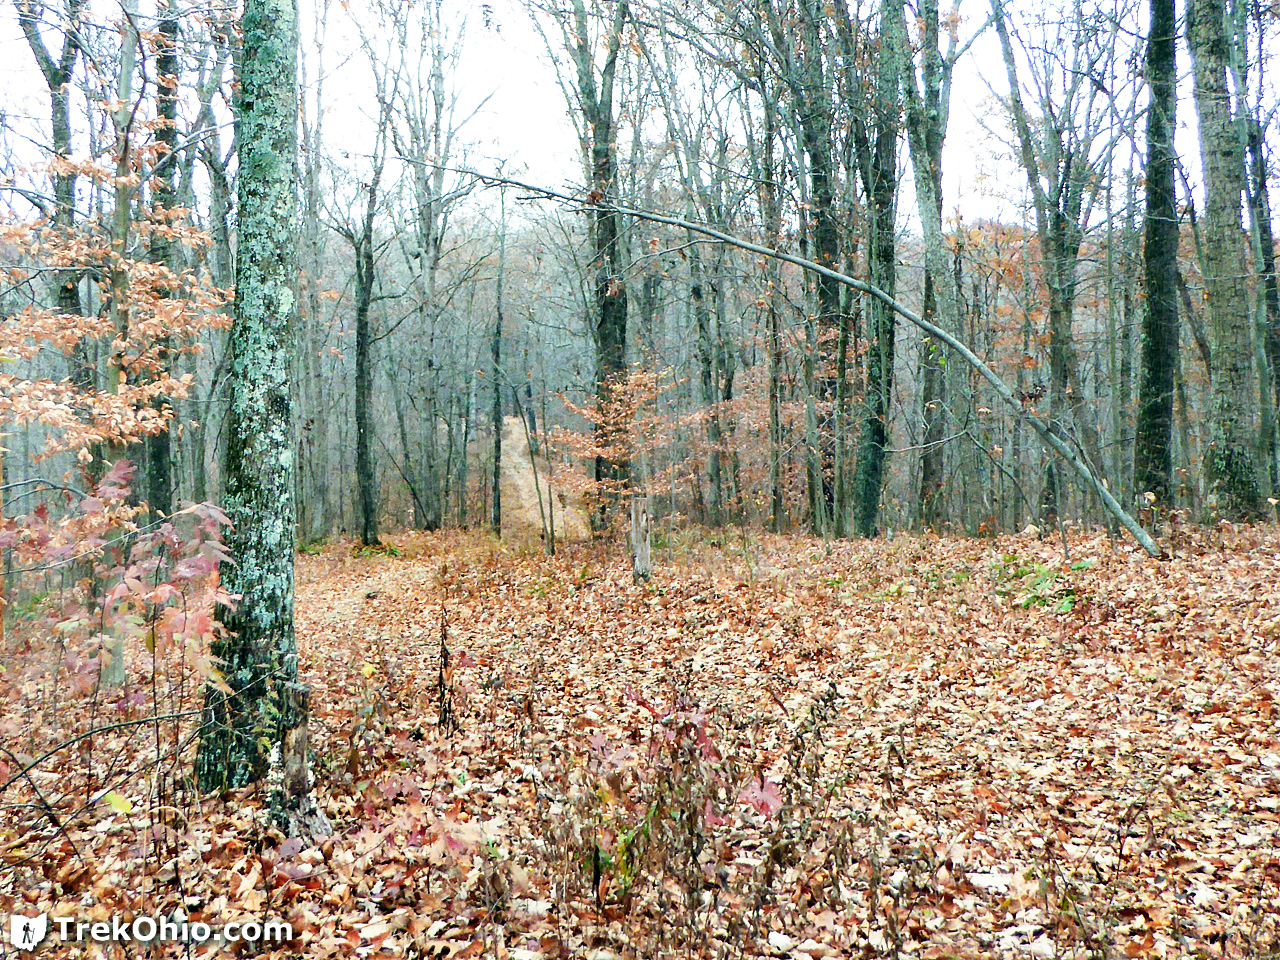
You soon come to the point where you get to leave Shea Road behind and turn into the woods. From the road the beginning of the wooded trail is pictured below. There’s a fairly steep bit right at the start that would be a bit difficult were the trail to be wet or icy. Starting at this point, you will see orange blazes showing the way along the trail.
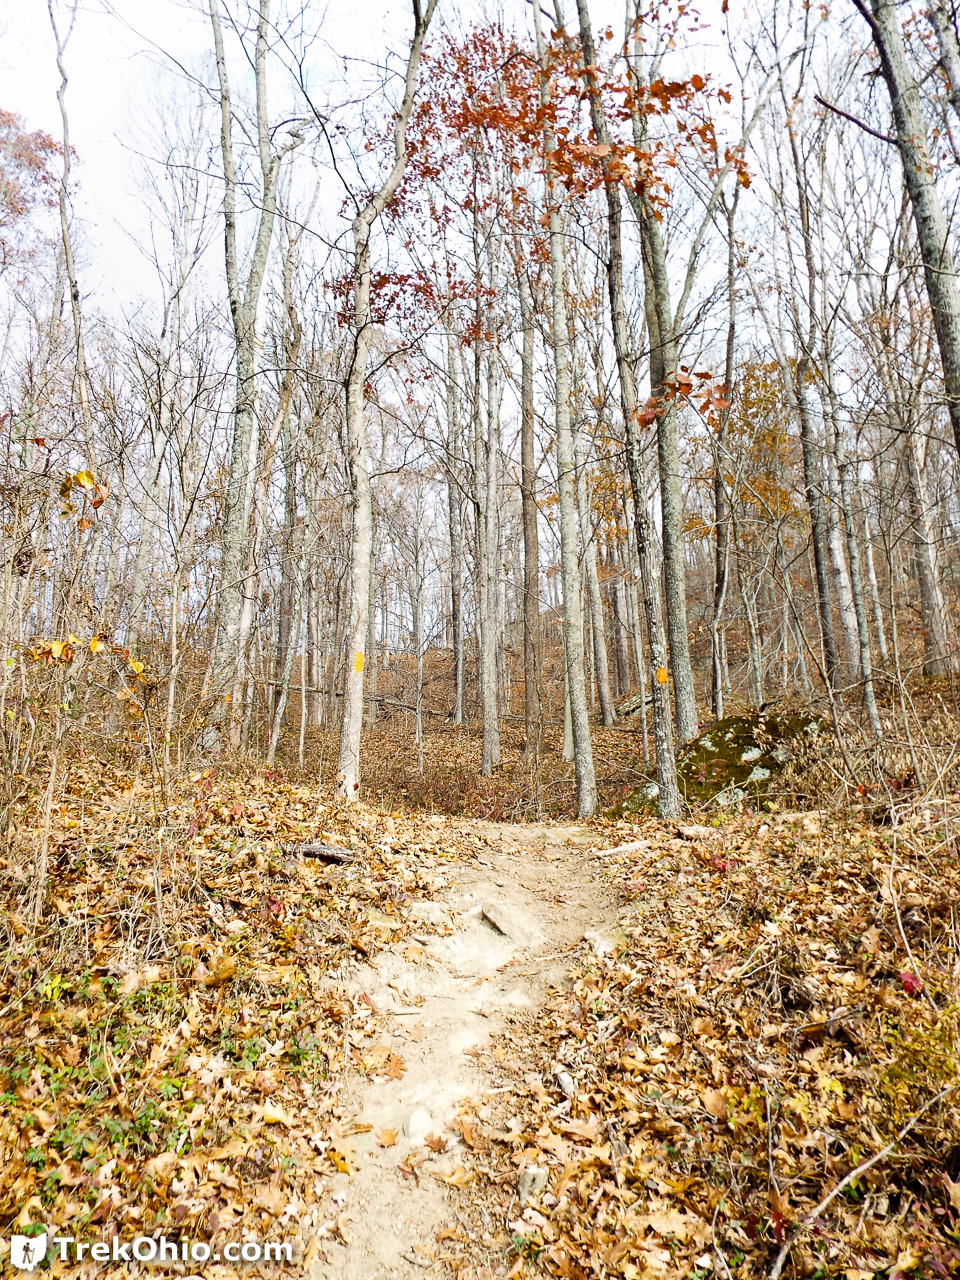
Shortly after getting past that steep bit we turned around and looked back at Wheelabout Road through the woods.
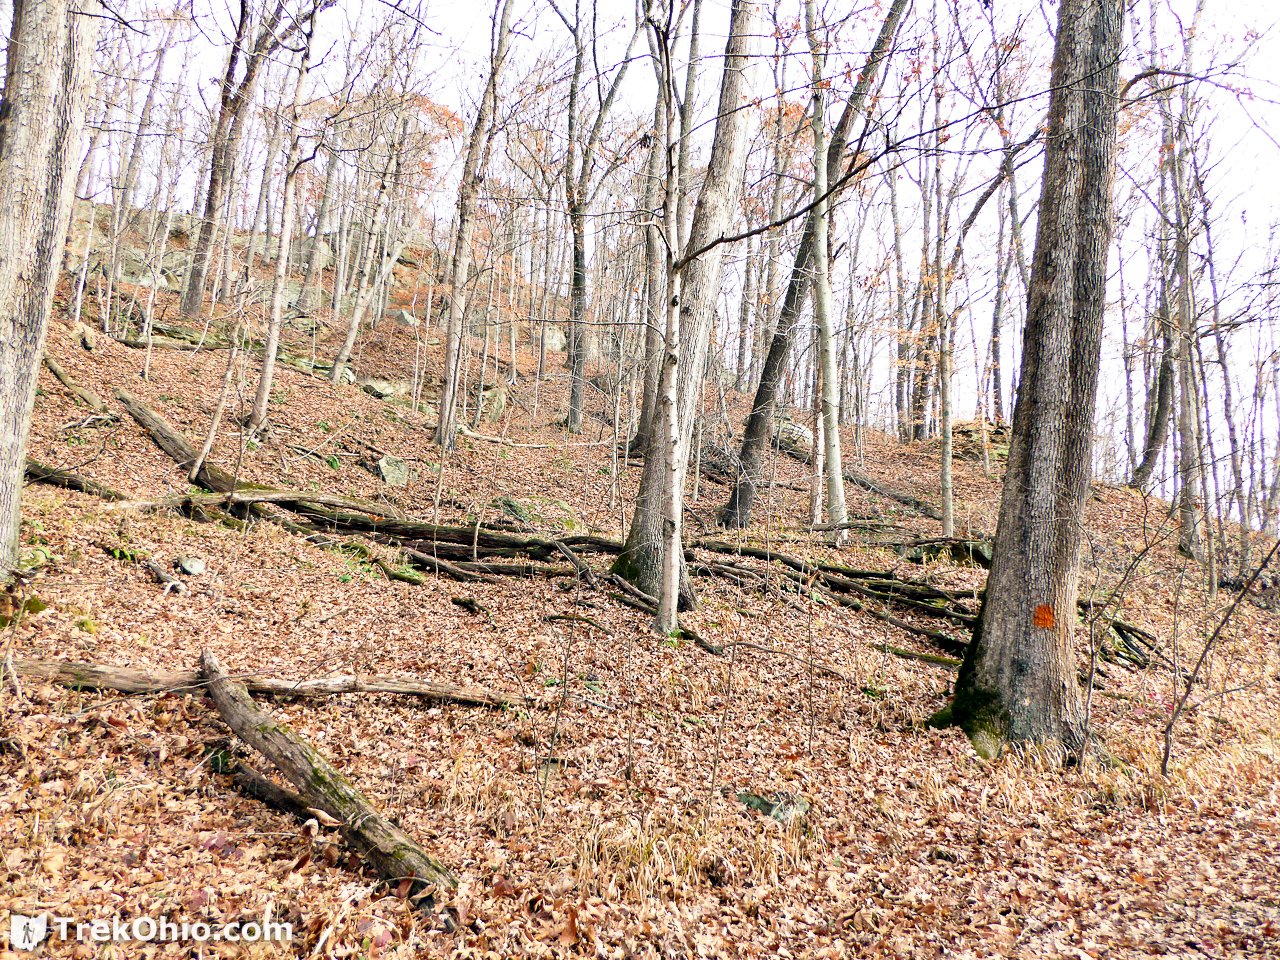
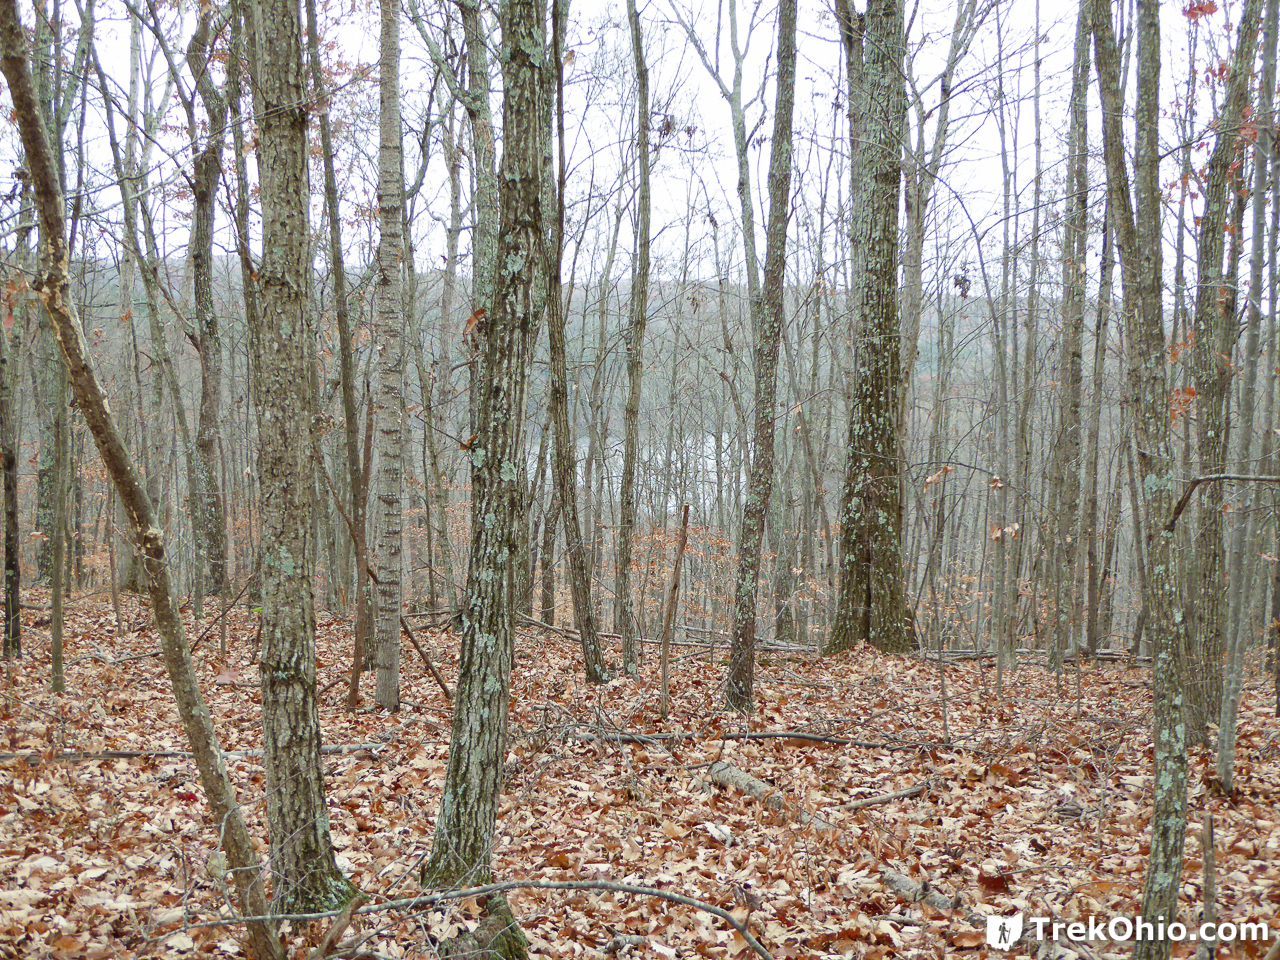
The initial portion of the trail is a bit of a climb. You have to go from the valley bottom up to the hilltop. Once you get to the hilltop, you follow the trail along the ridgeline. In the photo below I’m near the bottom and looking up at the hilltop. You can see quite a few boulders and outcroppings dotting the hillside.
I like hiking hills. They make me feel like I’m really hiking as opposed to going for a stroll. However there is one other especially steep bit before you can get to the top. The conditions were dry for us, so it wasn’t bad. But if you were doing this same hike under wet or icy conditions, this would be a bit challenging.
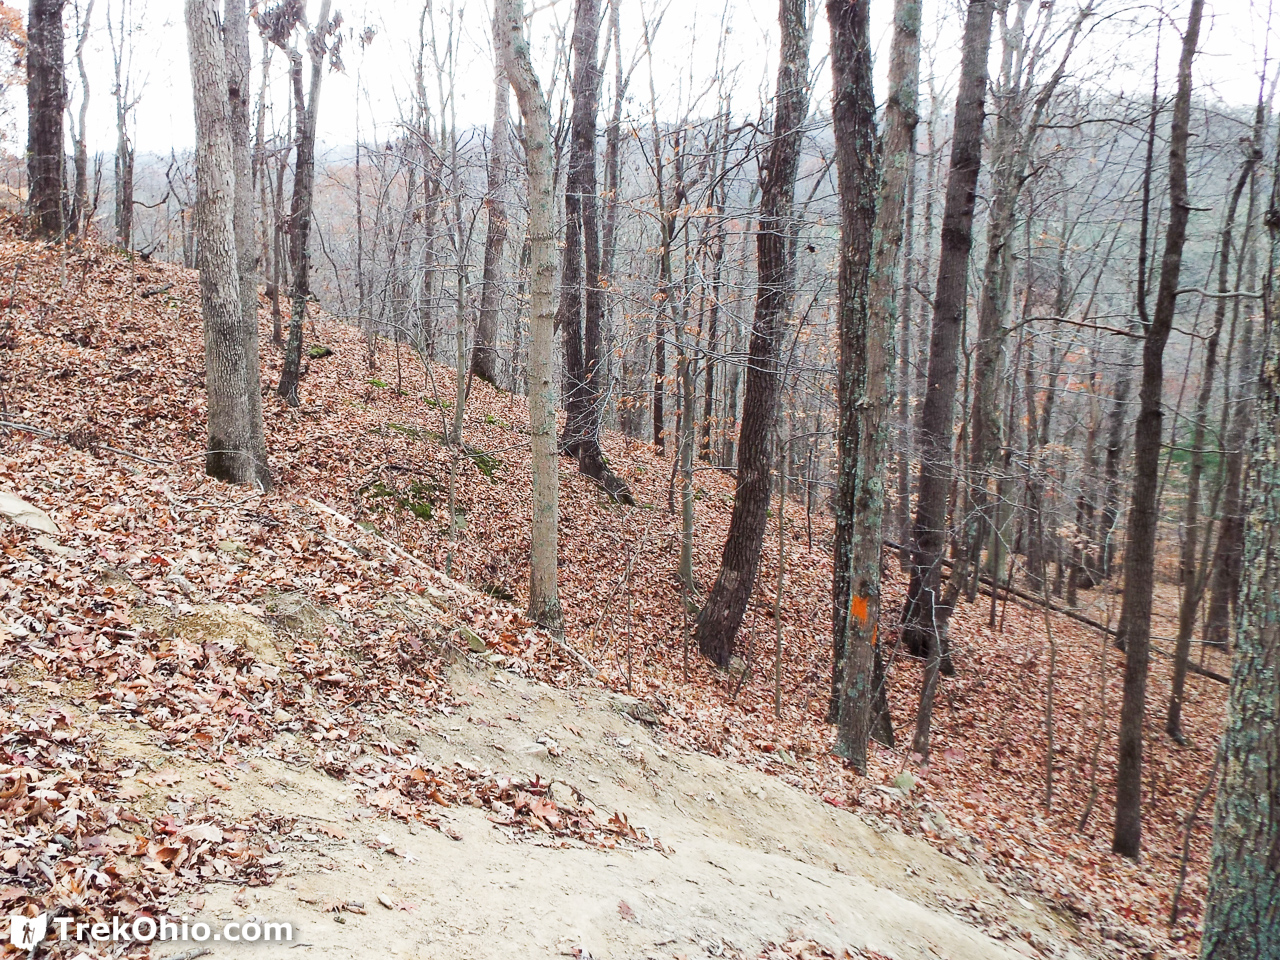
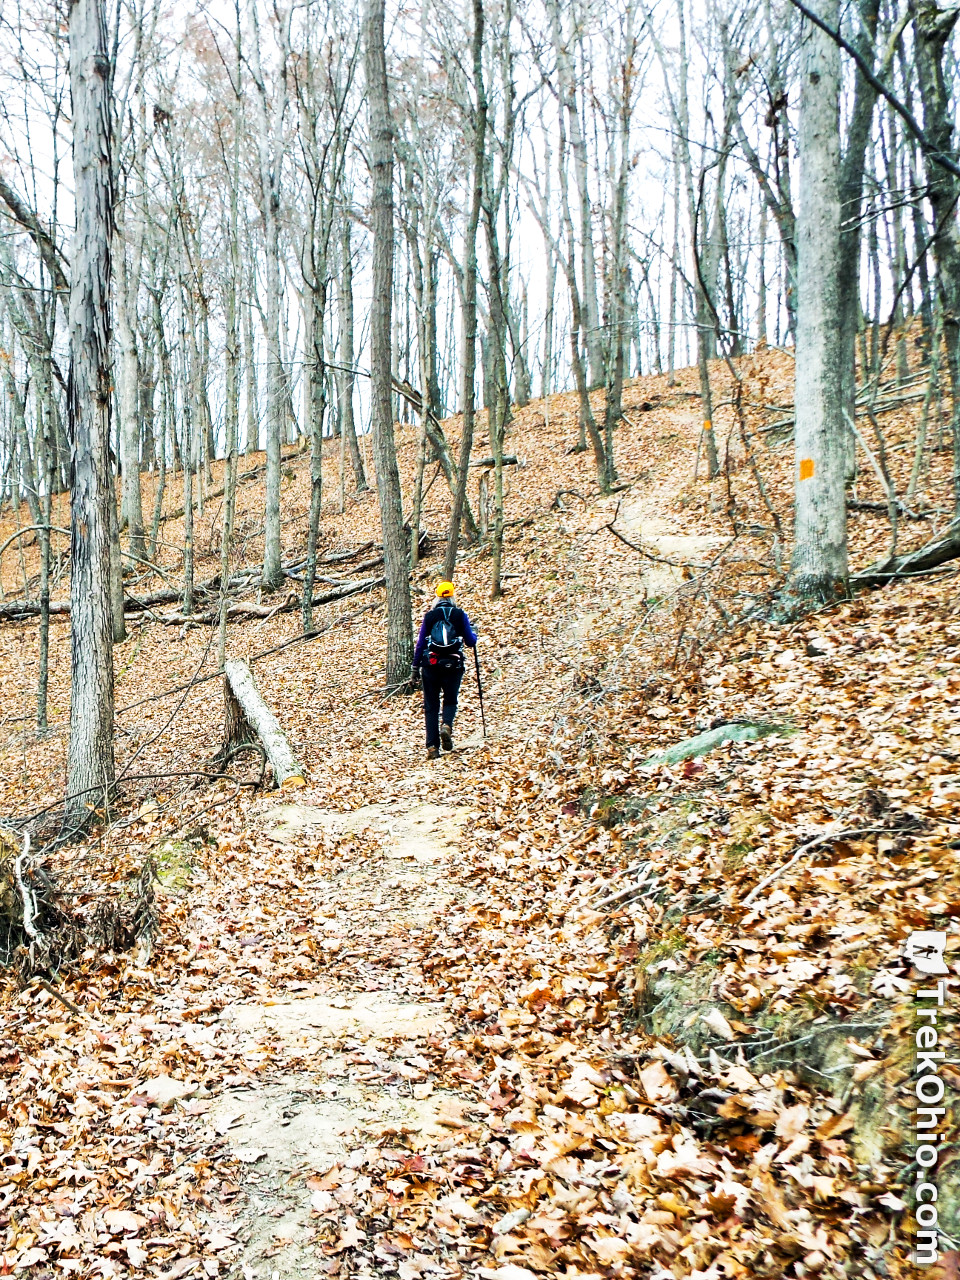
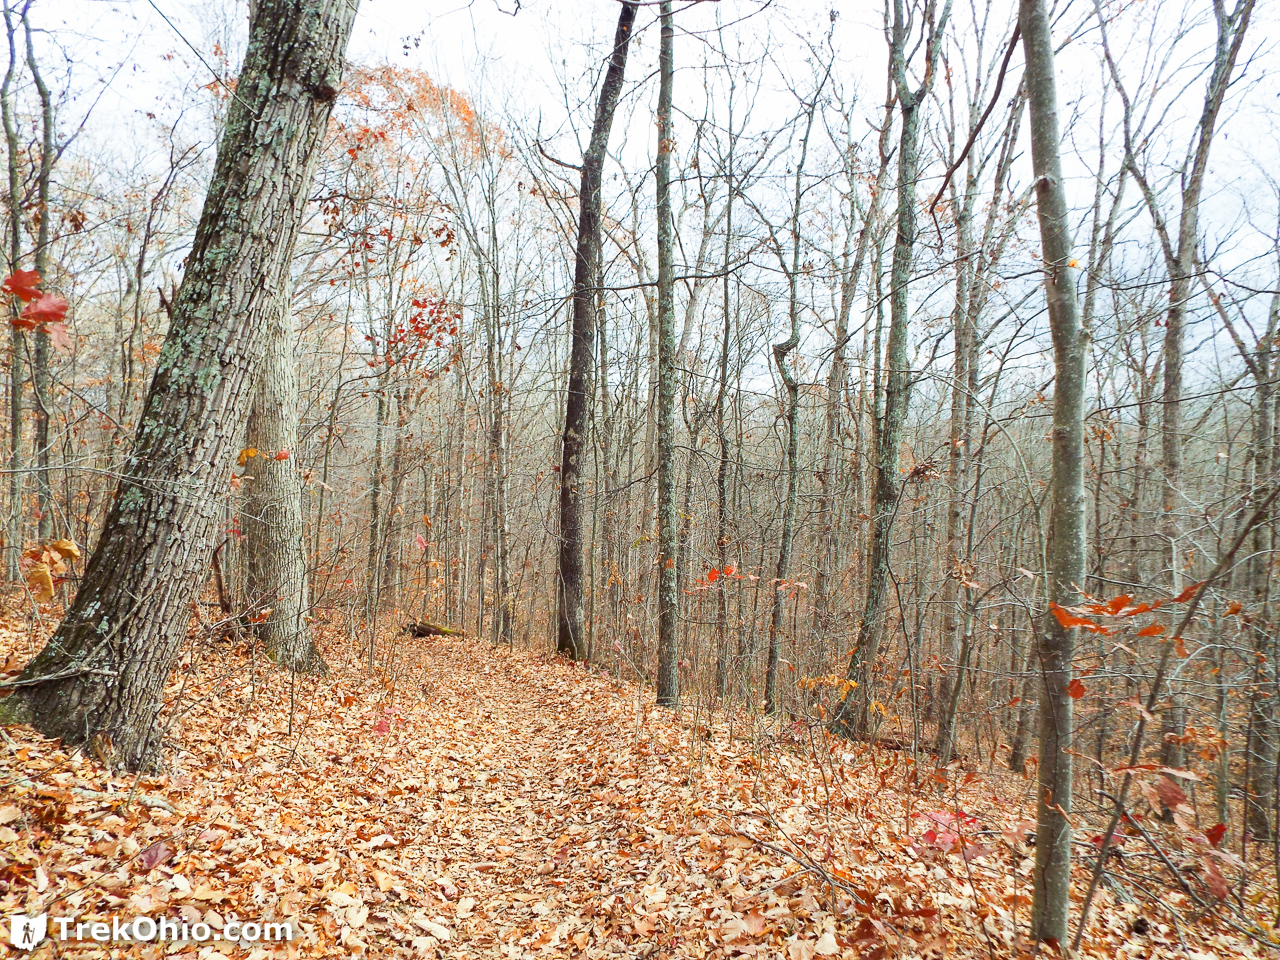
Once we got up to the ridgeline, there are some gentle ups and downs, but nothing as steep as that initial ascent.
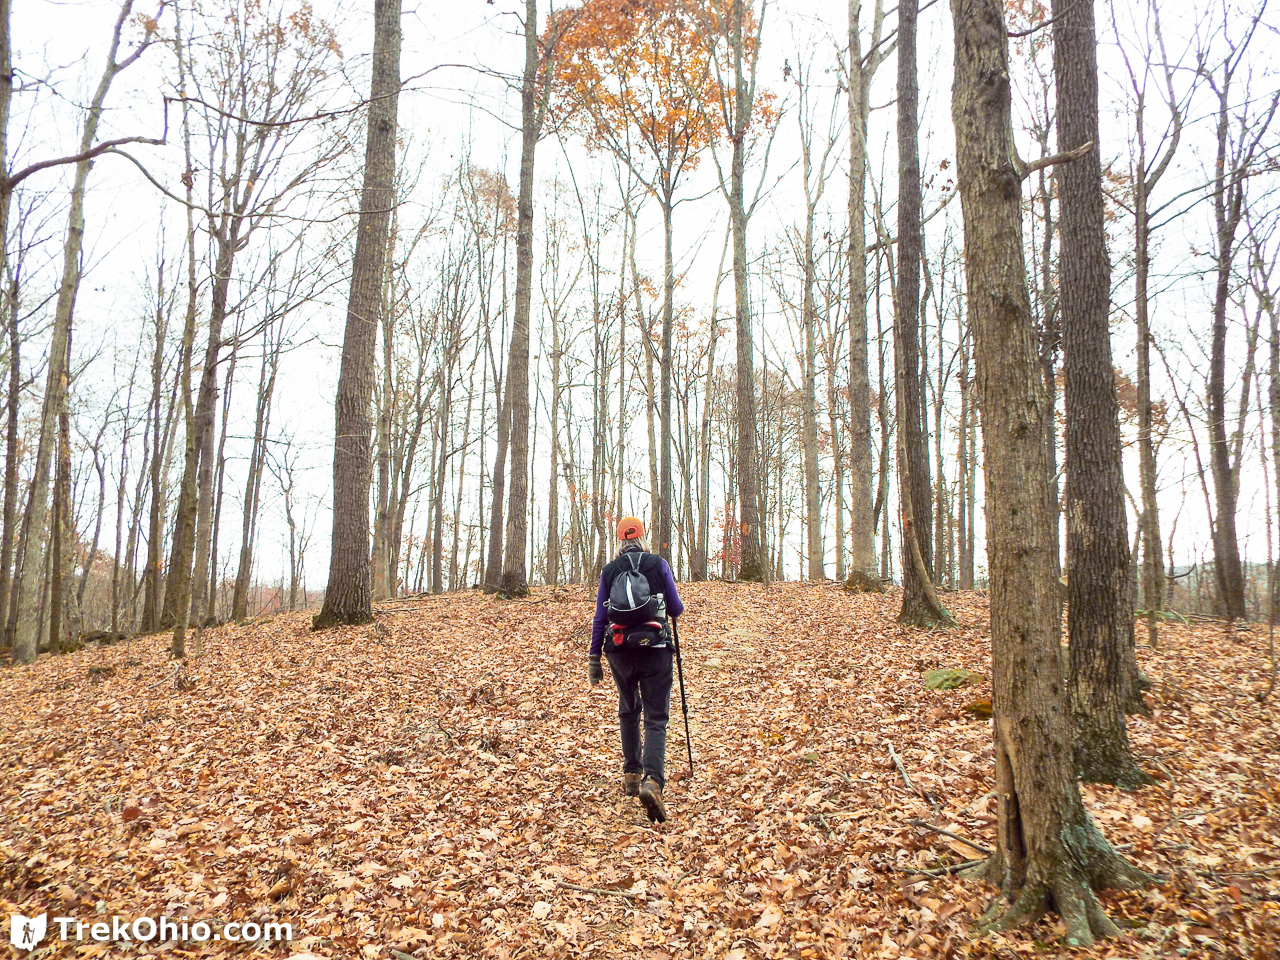
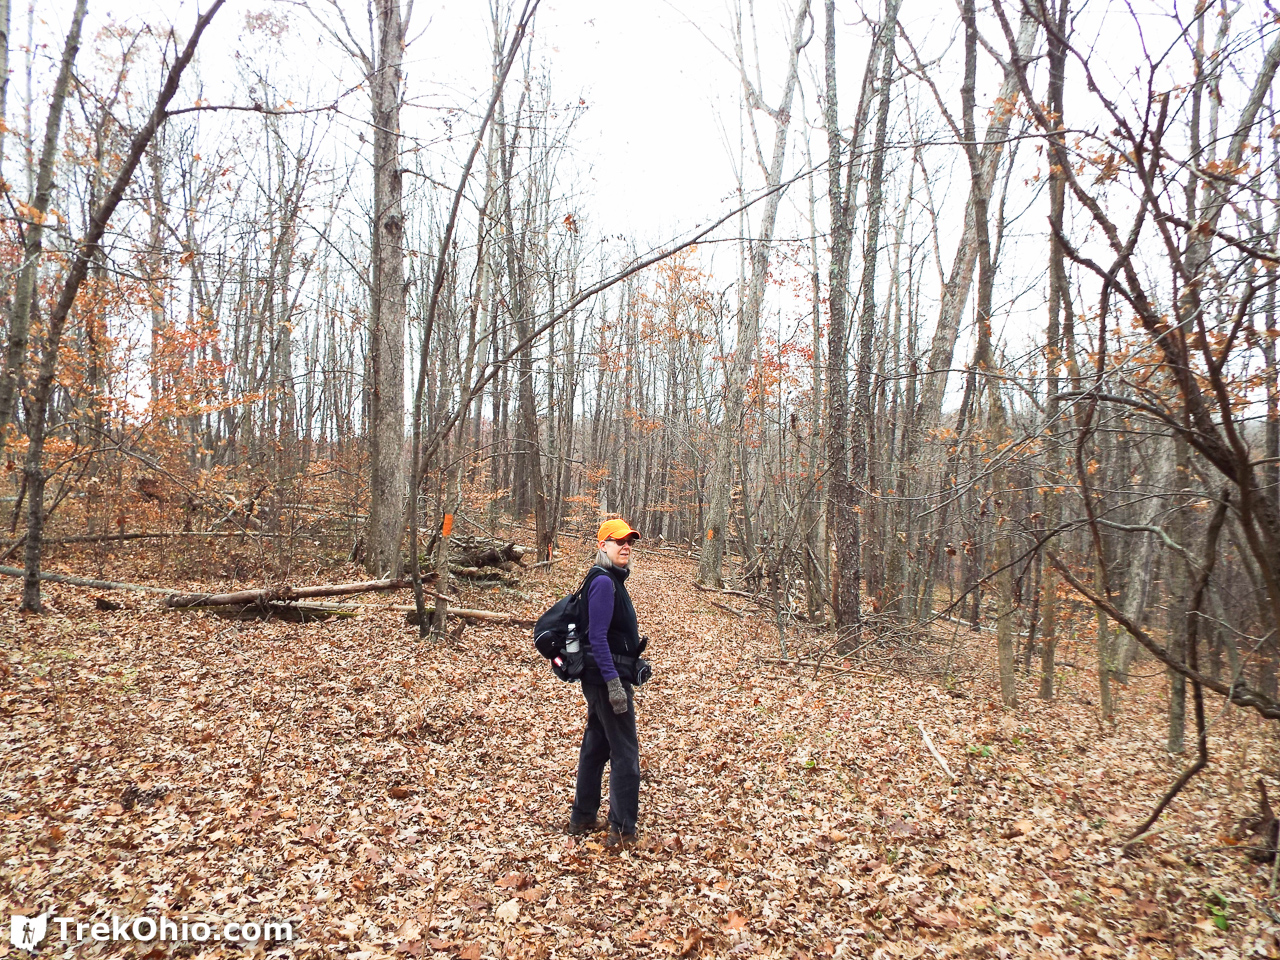
When hiking during late fall and winter, it’s important to dress strategically. When we started our hike the temperature was about mid-thirties, and near the end of our hike the temperature was expected to rise to the upper forties. Since it was on the cold-side starting out, there is the temptation to wear a heavier coat. But I knew that I would really be heating up during that initial climb, and there’s the danger of getting sweaty while hiking up a hill, then becoming damp and chilled when you no longer have to exert yourself as much on the ridgeline. So I decided to wear a thick, long-sleeve shirt and a polar fleece vest. I tucked my coat into a drawstring sack that I wore backpack-style, so if I cooled off later I could put a coat on. Rather than carry my water bottles in a day pack, I like to carry them in a lumbar pack (fanny pack / waist pack) because its easier on the back if you carry the weight on your hips.
From “B” to “C”
Point “B” was clearly marked as show below. Turning left would take us to point “Y” in the direction of Lake Hope. Since we wanted to go to the campsite instead, we turned right to go on to point “C”. The sign whose back faces us states that the trail we are currently on is the way back to the parking lot.

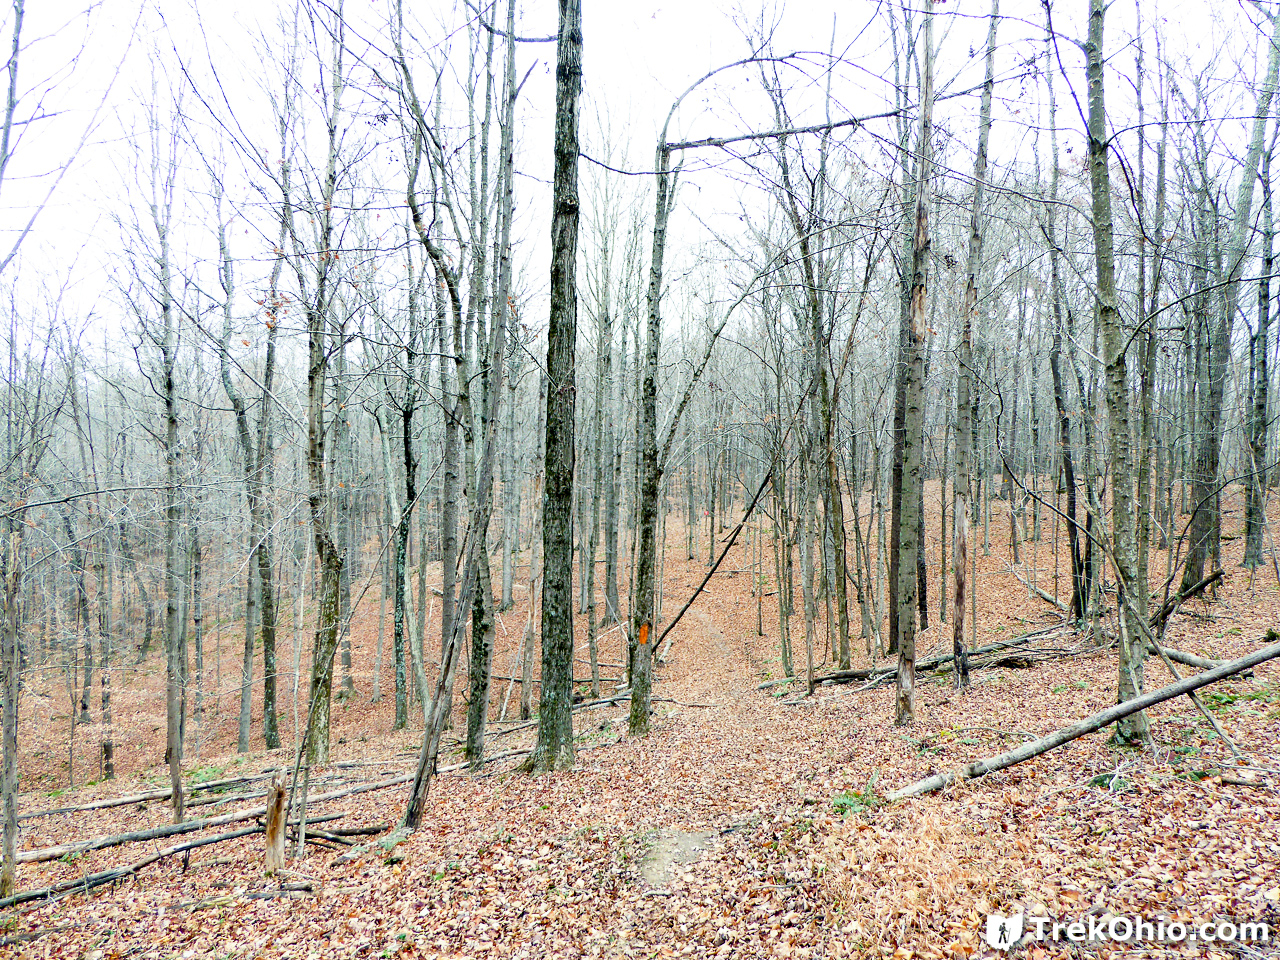
As we get into our final approach toward the campsite, we draw near an intersecting ridgeline. If you look at the photo below, you can see that the trail stretches out below and to the right of the ridgeline. I point this out now because on the way back we end up on the ridgeline instead of the trail below the ridgeline. ![]()
Campsite at “C”
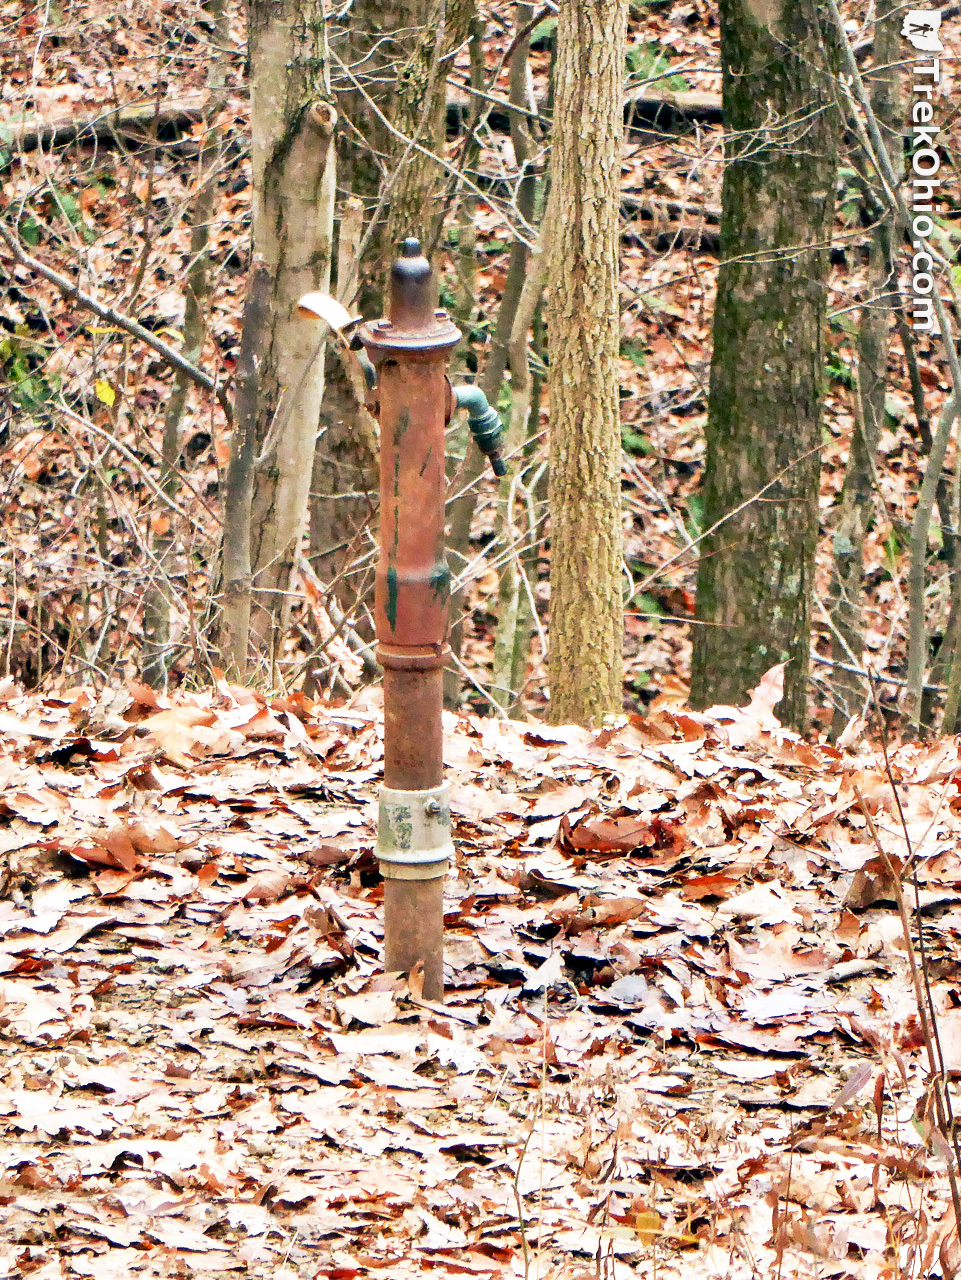
The trail approaching the campsite rises up to it. Below is our first look at the campsite from the trail. The white sign has a black arrow on it pointing the way to the water pump. In the woods just beyond the corrugated metal thing you can just make out the top of the campsite’s outhouse.
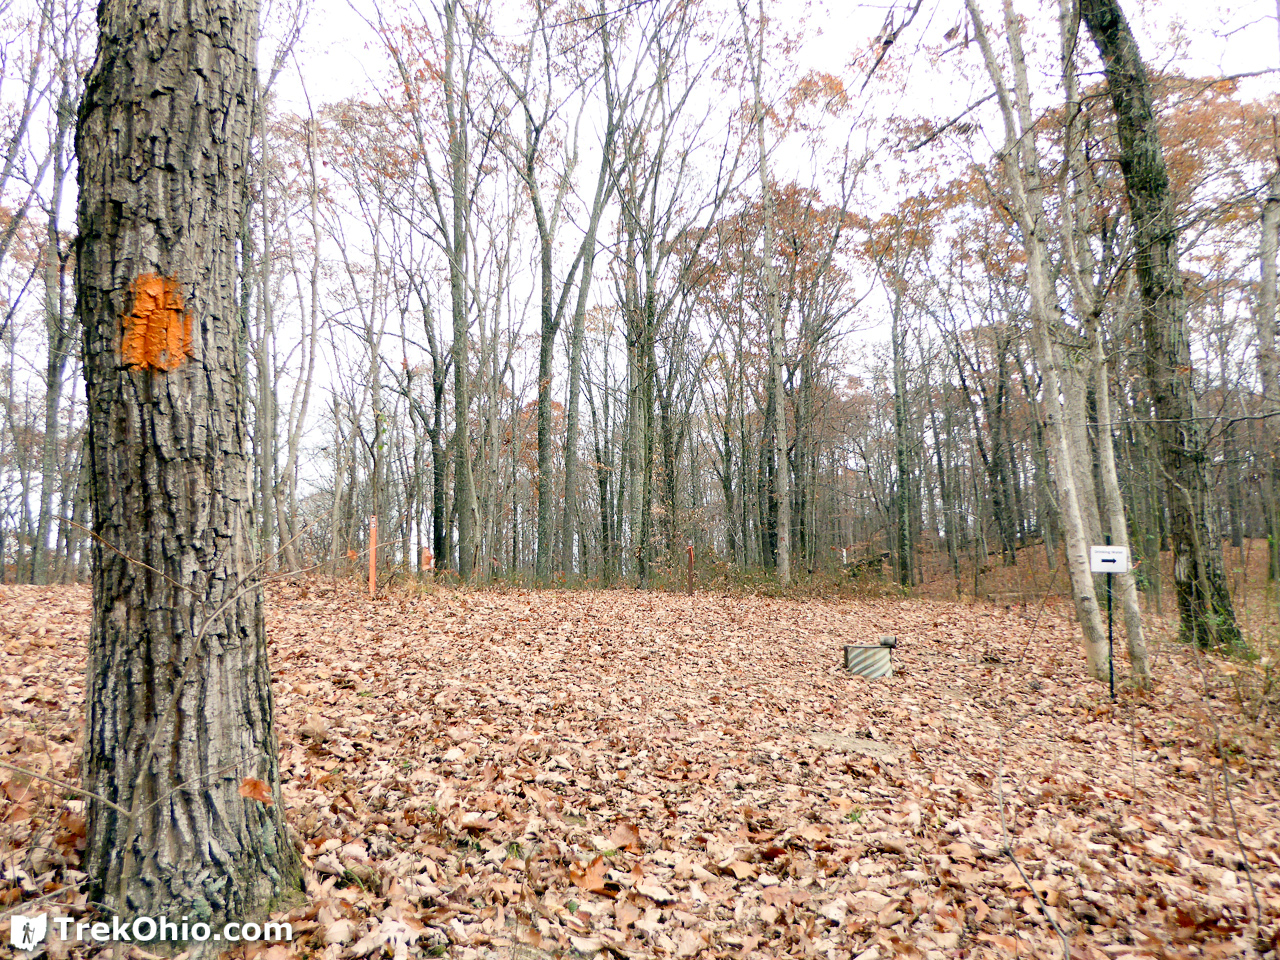
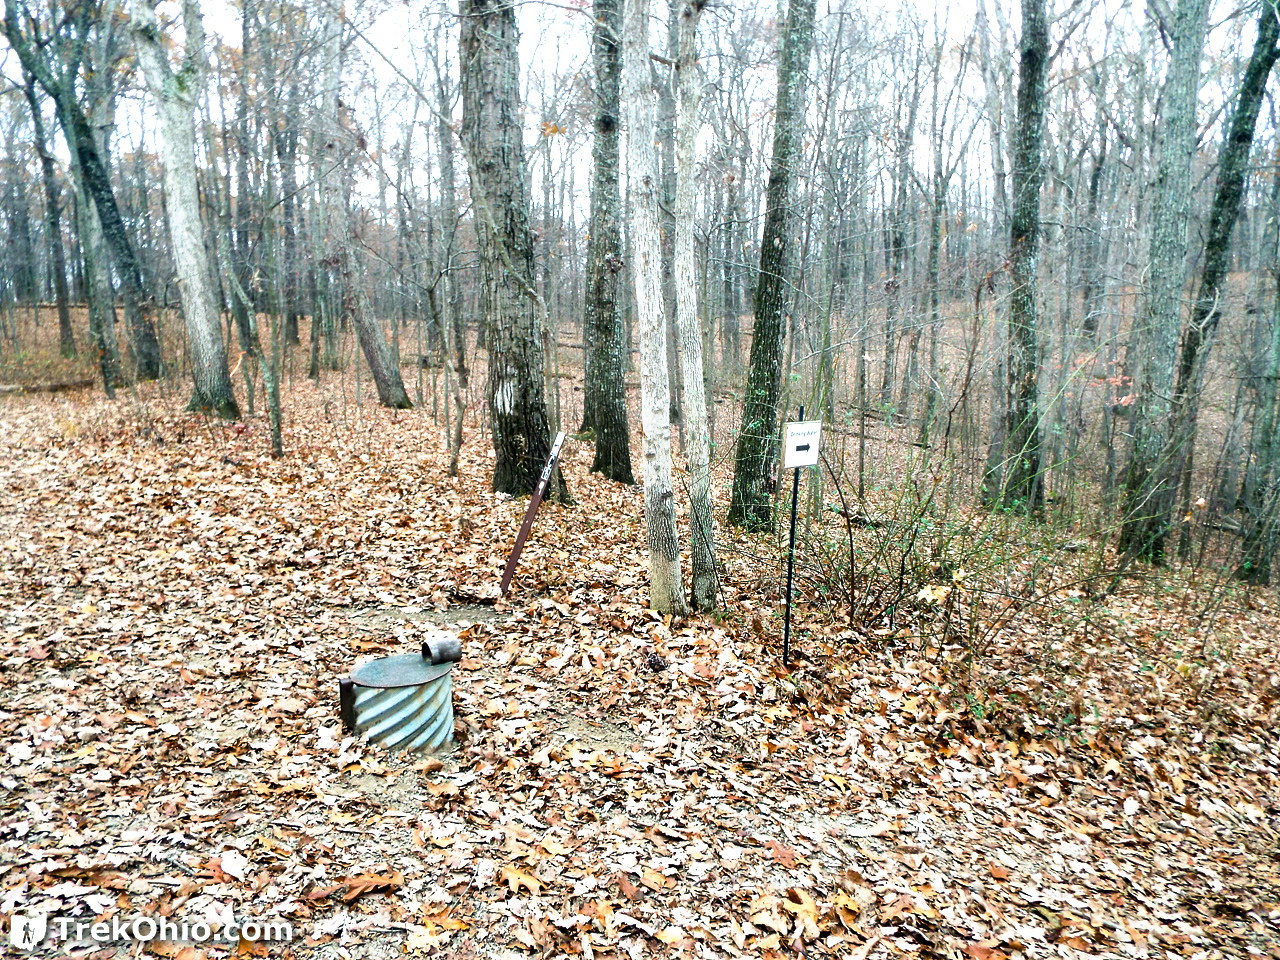
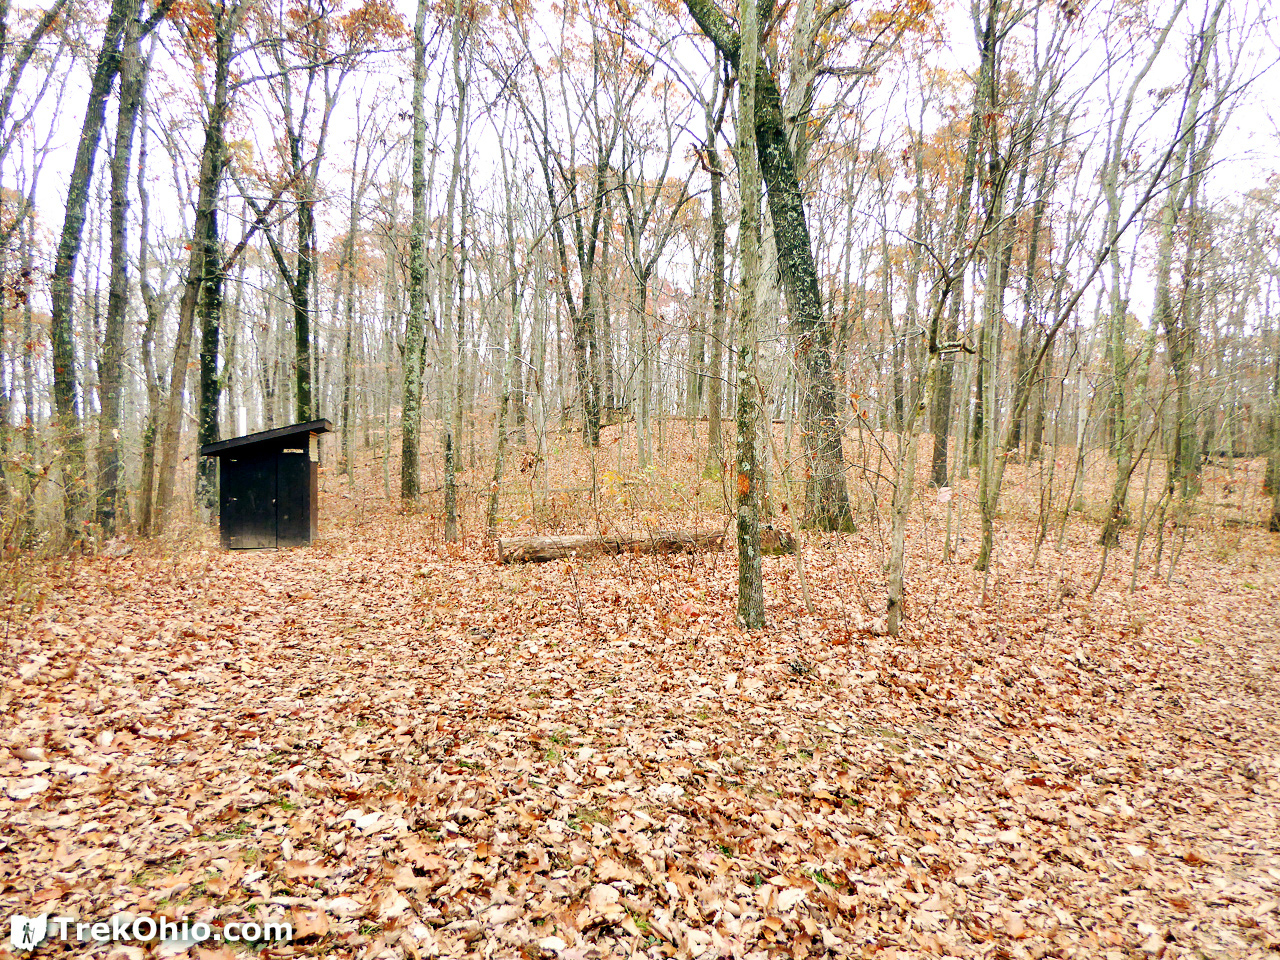
In the photo above of the outhouse, I note that the trail to point “D” is off the the right.
If you go to the northern part of the campsite, you can see a trail/road heading off down the hill. This wasn’t on the official map, but when I looked at our GPS trace on Google Maps, it appears to be a forest road heading off toward King Hollow Road.
Starting off on the Wrong Foot
After looking over the campsite, we stopped here to have lunch. When we decided to head back towards our car, we started off on a trail that was almost the correct trail. As it turns out the trail we had followed on our outbound hike from the parking area was lower than the campsite, and so it had “disappeared” from view while standing in the campsite. Meanwhile to the right of the real, “invisible” trail, there was a pseudo-trail that was at the same level as the campsite. The pseudo-trail was visible, wide, and inviting. So we started out on the pseudo-trail.
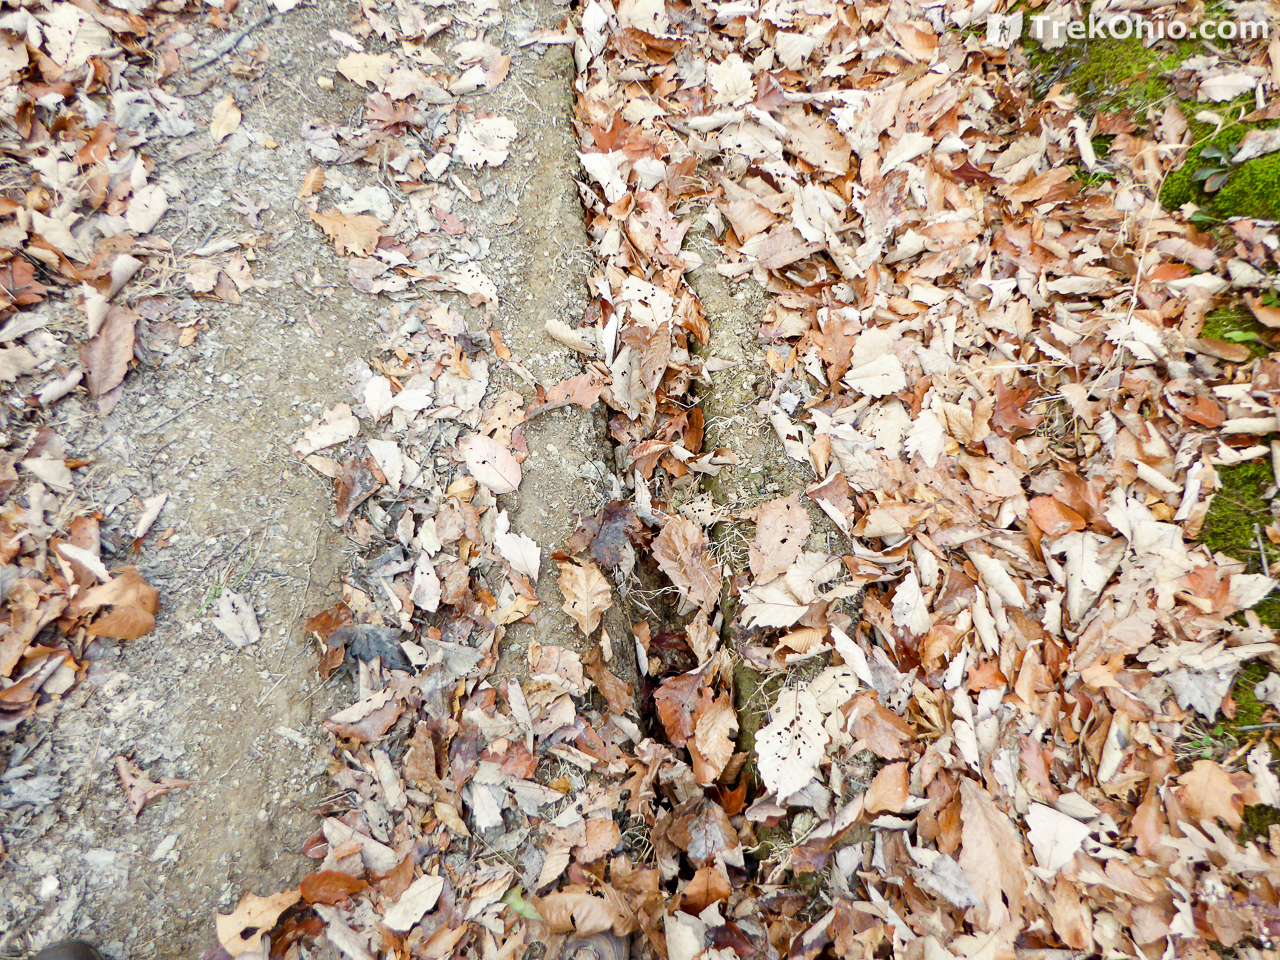
But after following it awhile, things just started to seem wrong. The first oddity was the trail surface. On the way in we had run into a few portions of the trail that seemed a bit rutted, but all-in-all the trail surface was quite decent. However the trail we were on now had deep grooves (mostly hidden under the leaf litter) that just seemed to go on-and-on. We both started commenting about “not remembering” these ruts on the way in.
The next thing that seemed kind of wrong was the lack of trail blazes. On the way in I had been really impressed with how well-blazed the trail was. It was often the case that I could see multiple blazes at the same time receding into the distance. But on the pseudo-trail we hadn’t laid eyes on a blaze for quite some time… all while hiking along a very trail-like path. Since we have hiked on trails that are only blazed in one direction, I started turning around periodically to see if I could see any orange blazes in the opposite direction and… no.
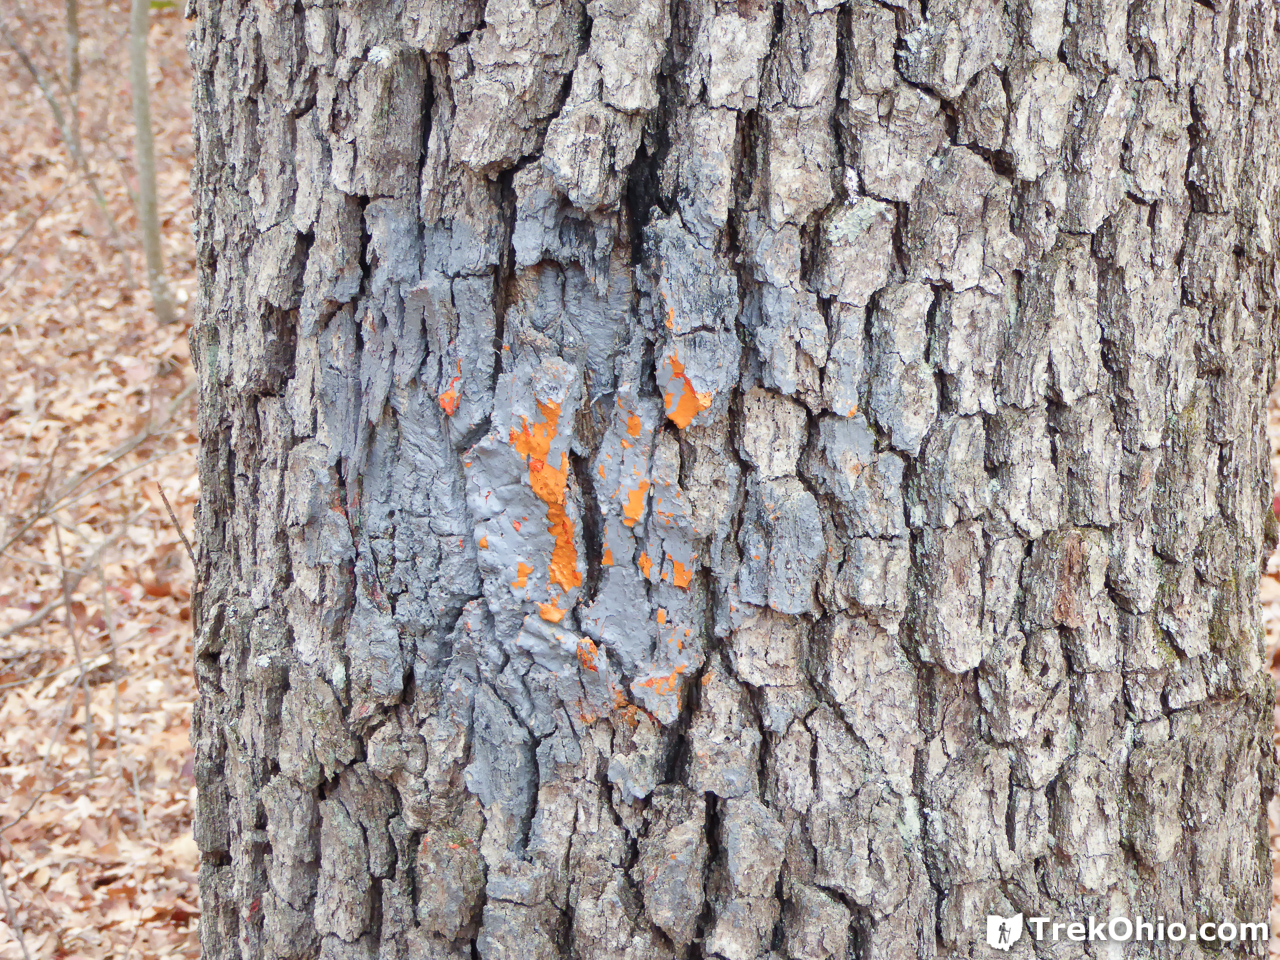
Eventually I noticed the following “erased” blaze. Obviously there had been an orange blaze here once, but someone had gone to the trouble of daubing over it with gray paint. So this kind of settled things: we were not retracing our outbound trail. Instead we were on something that was no longer meant to be a trail.
Since we were doing a GPS trace of our hike, we had started checking the GPS trace as soon as we began having misgivings. But our GPS trace kind of looked right. Typically when we double back on a trail, the GPS trace of the return trip doesn’t lie immediately above the outbound trip. So we discussed whether we were on the trail, or near the trail. And we began looking off the trail to see if we could make out the real trail or see blazes in the distance, but no luck there.
So now we could continue following the pseudo-trail since the GPS trace looked like we were still going the right way. Or we could leave the path and head out in the direction that we thought the real trail was. Or we could retrace our hike back till we reached a point where we really knew where we were. We ended up doing the last and heading back to the campsite. On the way back to the campsite I realized that we had passed numerous gray, painted over blazes that were nearly invisible because of their grayness. And once we reached the campsite, I could see where we had gone wrong. This side excursion added an additional mile to our hike. ![]()
Back on Track
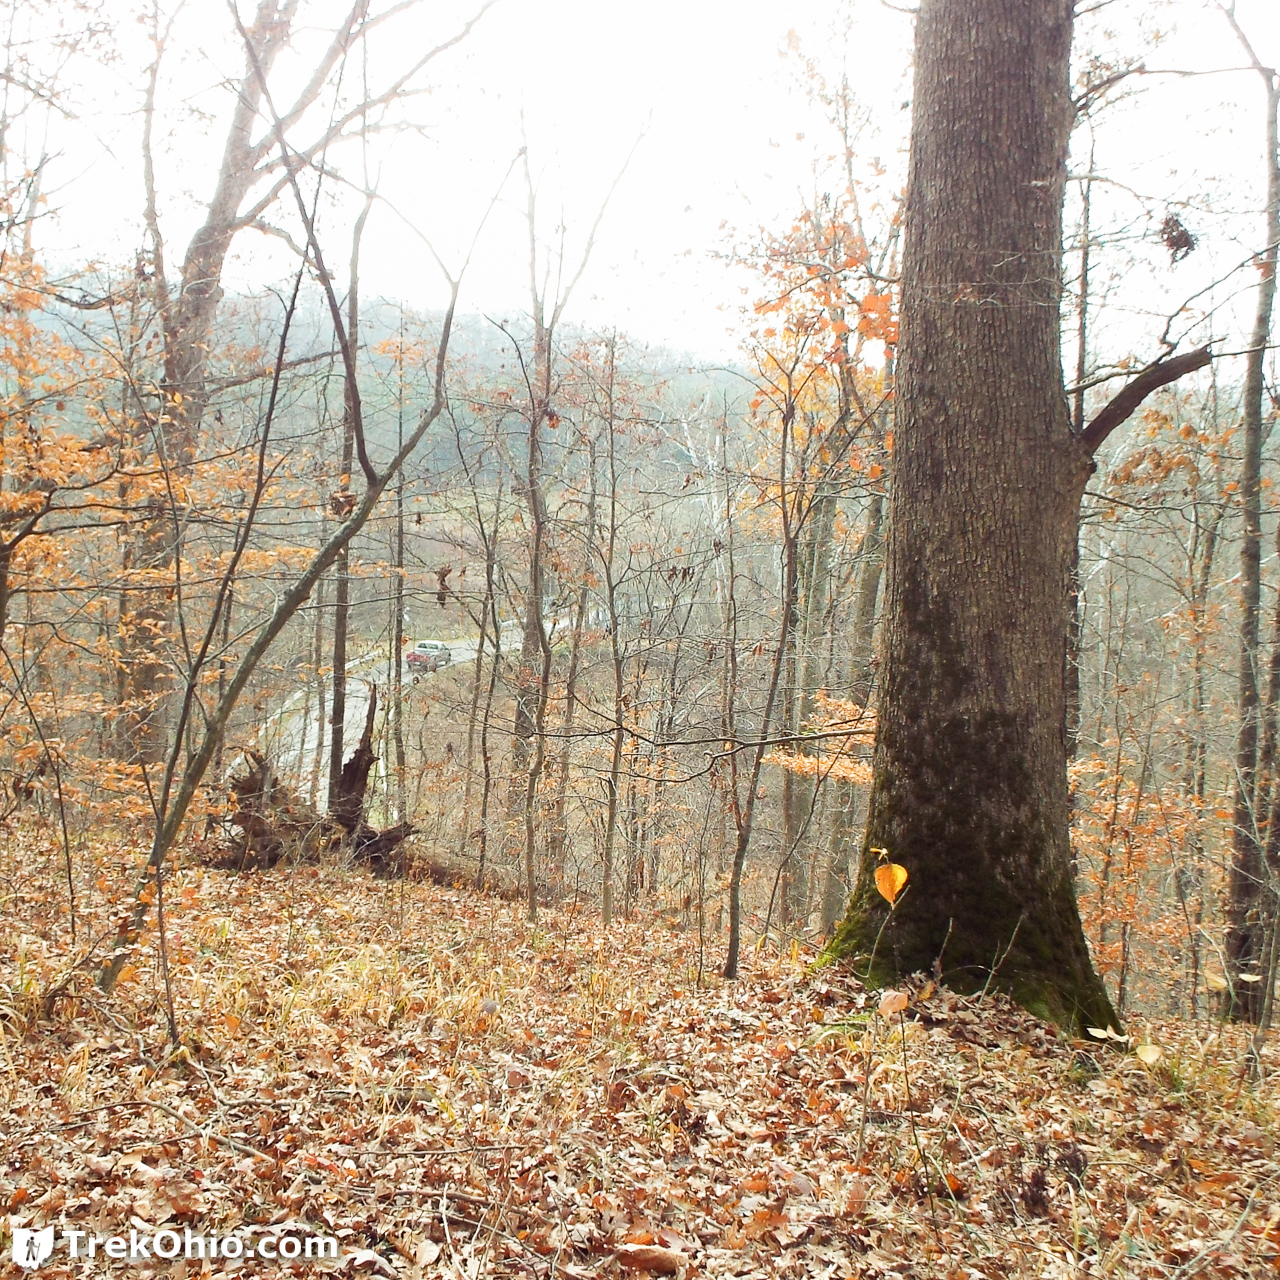
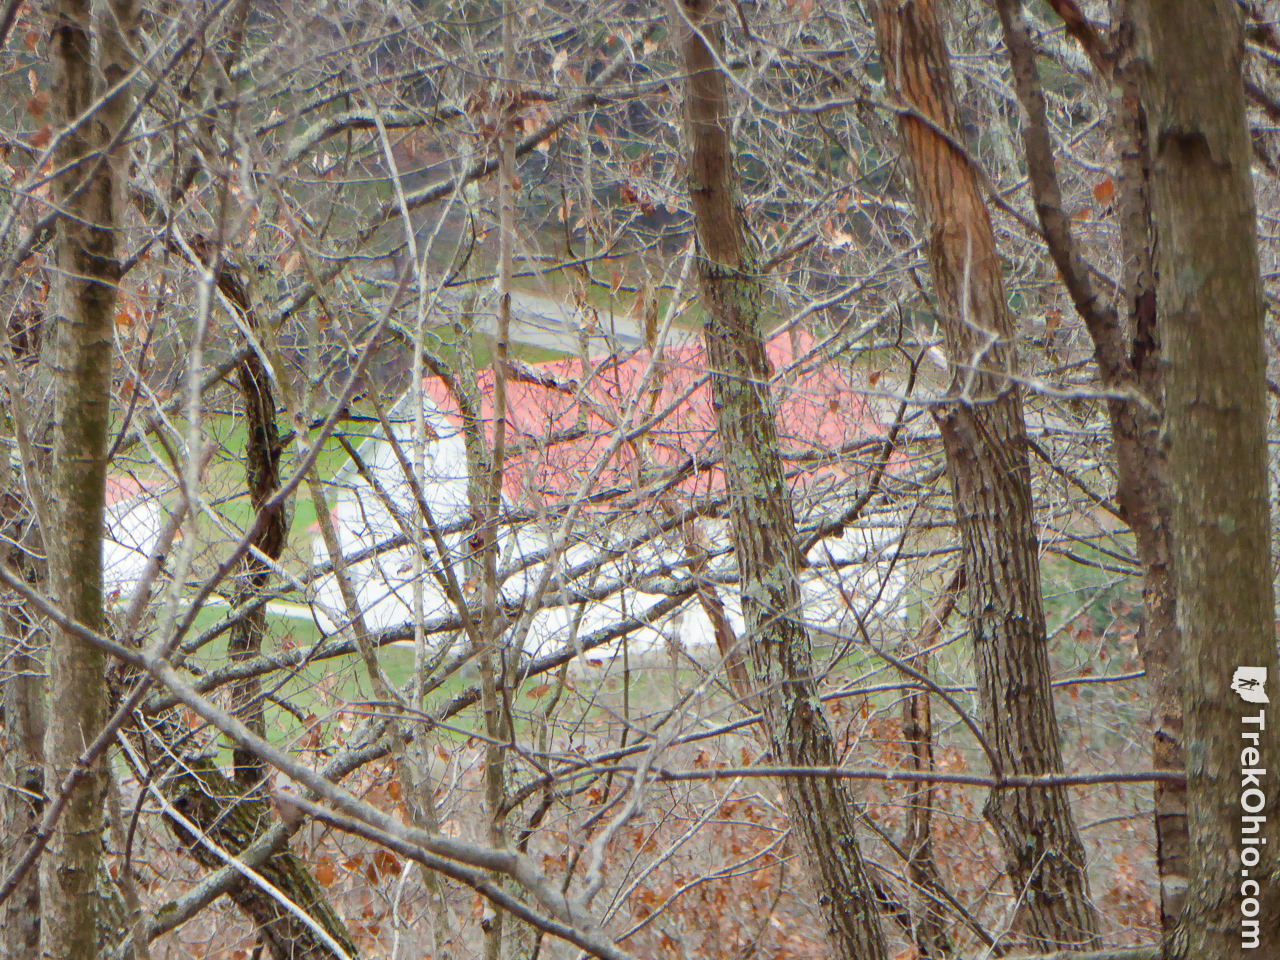
Once we got back to the campsite and headed out on the same trail that we had hiked originally, things went pretty smoothly. It turns out that the trail is blazed in both directions, so we were back to following the blazes again. Since this was the same path, I won’t include additional photos of it. However as we drew nearer to the parking area, we began to see landmarks in the distance such as Lake Hope and eventually Hope Schoolhouse. The following photos were taken with a telephoto lens, so they would look considerably smaller to the unaided eye.
All-in-all I thought it made for a nice day hike. ![]()
Additional information
- TrekOhio: Vinton County Parks & Nature Preserves — This is the county where both Zaleski State Forest and Lake Hope State Park are located; check this page for official links and information on nearby parks and preserves.
- TrekOhio: Posts on nearby Moonville Tunnel
- TrekOhio: Post on nearby King’s Hollow Tunnel
- TrekOhio: Post on nearby Lake Hope State Park
- TrekOhio: Ohio Backpacking Trails
Location
- Address (approximate): 27961 Wheelabout Rd., McArthur, Ohio 45651
- Directions: From Lake Hope State Park area, take OH-278 to Shea Road (west), turn right (south) onto Wheelabout Road. Dive a little less than 0.2 miles on Wheelabout Road, crossing a bridge, and Hope Schoolhouse will be on your left. Park there.
- GPS Coordinates: 39.315998, -82.352401
- Google Maps: View on map or get directions
More on Vinton County
 Vinton Furnace State Experimental Forest
 Tar Hollow State Park
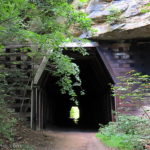 Zaleski State Forest: King’s Hollow Tunnel
 Vinton Furnace Experimental Forest: Hike to the Belgian Coke Ovens
I appreciate your review. I backpacked Zaleski twice in the spring and I’m planning on going again this weekend. Starting at the Schoolhouse. The two pictures you have of the “Steep” part towards the trail head was by far the most difficult part I passed. Had to basically squat down and almost slide down it on the way out. That was in April after the worst thunderstorm I ever experienced, either in a tent or at home haha. Looking forward to this weekend!
I finally had a chance to hike this yesterday. It was very nice (and I appreciate you pointing out its existence for me). What I did, though, was circumnavigate Lake Hope. I parked at the Hope Furnace and went north, following the Furnace Trail along the north side of the Lake. I then went uphill towards Oak Point (on the west side of the Lake) and crossed the road, picking up the Sidewinder Bicycle Trail. Took that south to the dam, and a short stretch of road to where the backpacking trail was. Then followed that to Point B, and west to the old trailhead across the road from Hope Furnace.
It was about a 7.5 mile trek that pretty much highlighted the best of the area, and better yet (from my viewpoint), I didn’t have to repeat any stretch of trail.
As you mentioned, the trail is recent. I think ODNR wanted another trailhead and parking lot for the backpack trail as the main one fills up completely on most fall weekends. There is new signage on the road to Moonville Tunnel and there’s a new bridge across Raccoon Creek at Moonville Tunnel. At some point, we’ll update the Moonville Tunnel post to reflect this.
I guess it’s been a long time since I last hiked that area. Lately when I’ve been in the area I’ve done the bike paths north of Lake Hope. But the trail from Hope Schoolhouse to the campground is new since I last hiked there. (And it is therefore not on my maps.)
Regarding the trail that you thought went to King Hollow Road, that is
exactly correct, as you can see in my map of the area:
http://www.ahcuah.com/maps/zaleski2.gif
You can park along King Hollow Road there if you want to use it as a jumping off point for a different hike.
That map also shows where you went wrong after leaving the water. About 5-8 years ago they rerouted the backpacking trail off the top of that ridge. (I think they were trying to hide logging?) You can see on the map where the trail used to be, west of what used to be point B (and it was there when they published that original topo map).